Mesh replacements (Stand-Ins)
Mesh replacements are done using the Stand-In functionality. A Stand-In, is a (potentially simplified) replacement actor for one or multiple Static Mesh Actors placed in your game world. You create and edit Stand-Ins using the Stand-In Outliner.
In the following sections we'll go through a simple Stand-In example on how to merge multiple objects together and afterwards give you some tips for further learning once you've grasped the basics.
Simple Stand-In kitbashing example
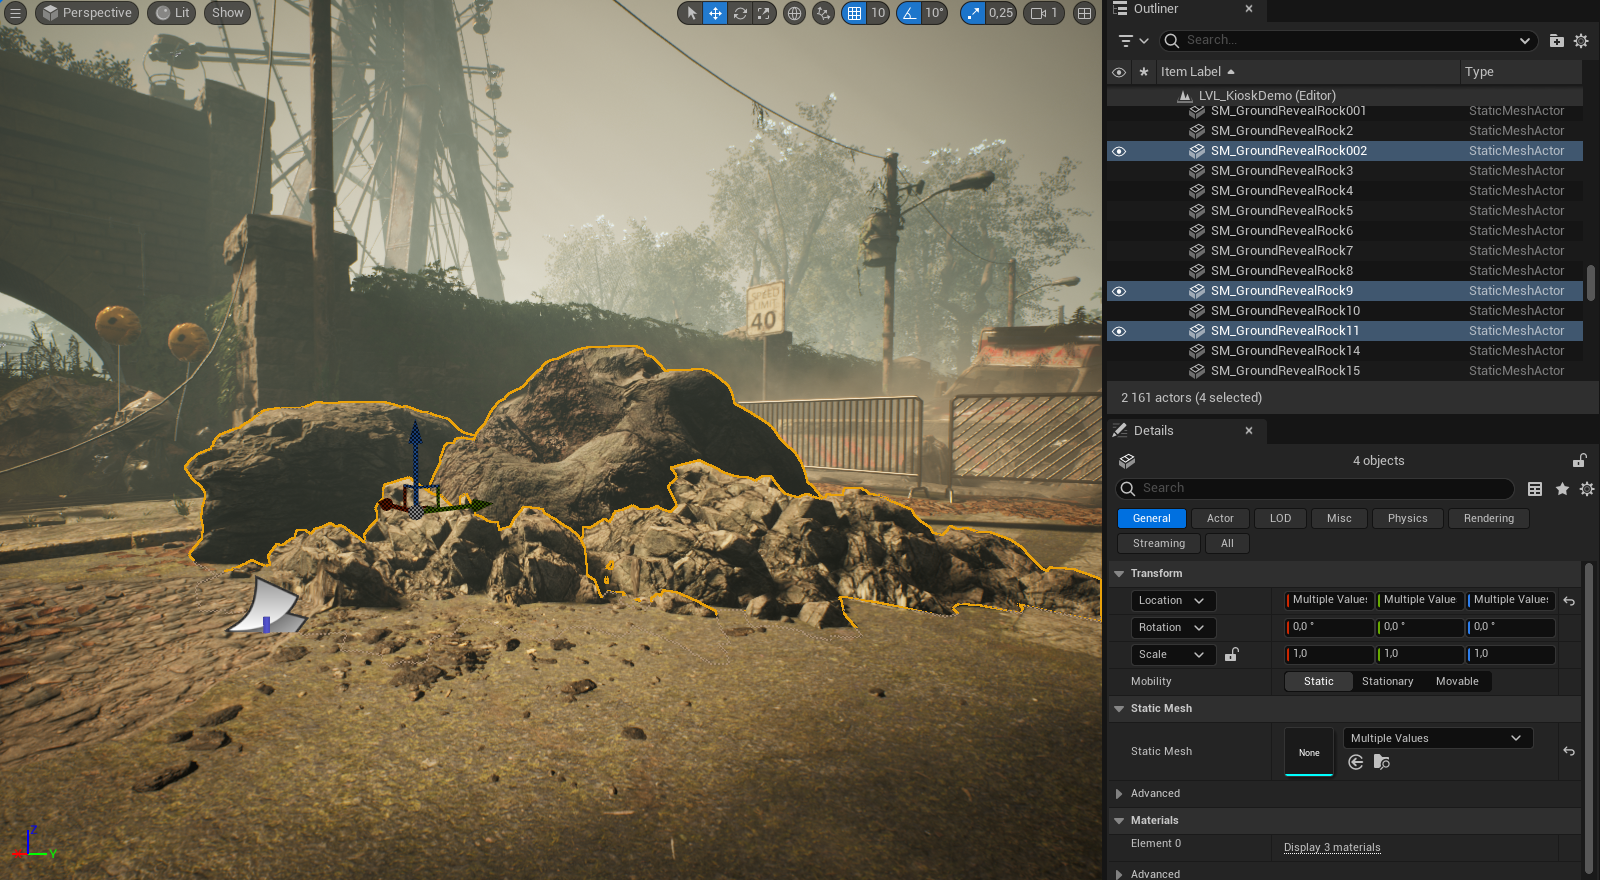
In your level, select all the Static Mesh Actors that you want to merge together. Make sure you have saved your level at least once before continuing.
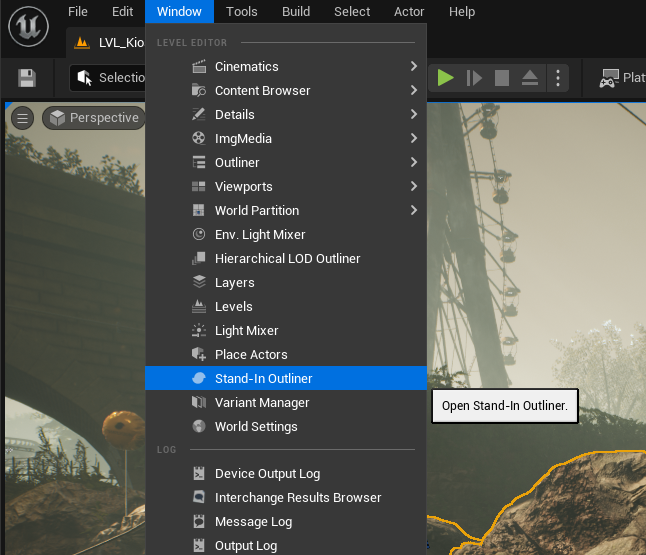
Open the Stand-In Outliner. You can find it under Window → Stand-In Outliner.
Click Create.
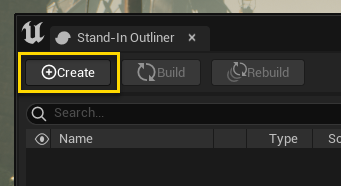
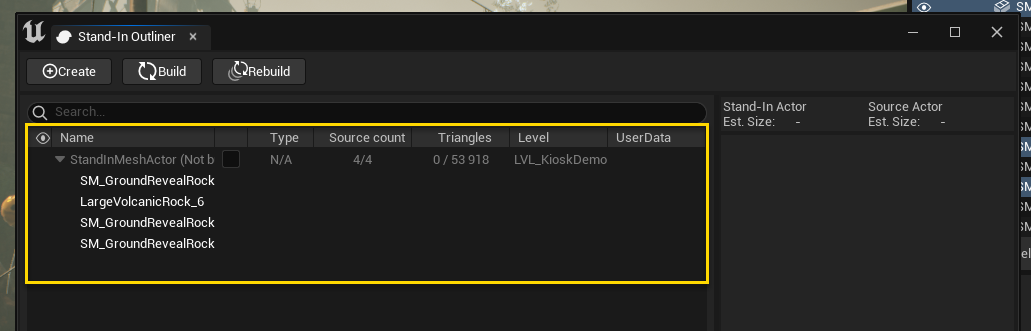
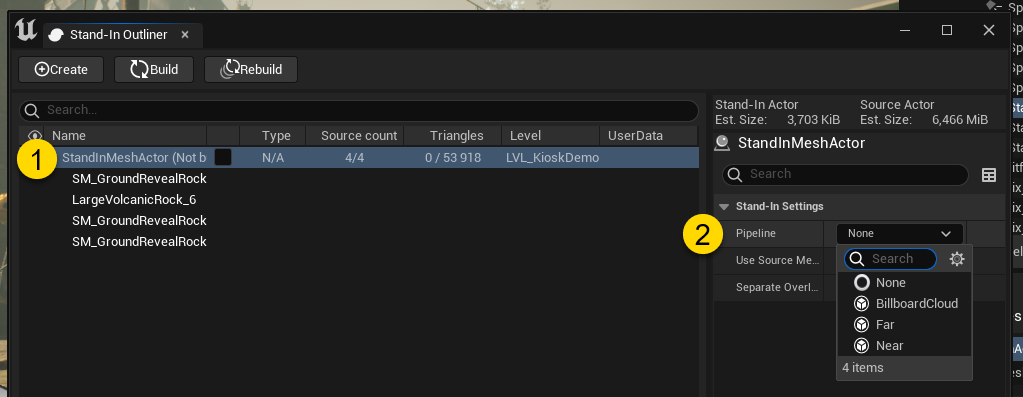
This should have created an empty Stand-In Actor in your scene as well as added an item in your Stand-in Outliner.
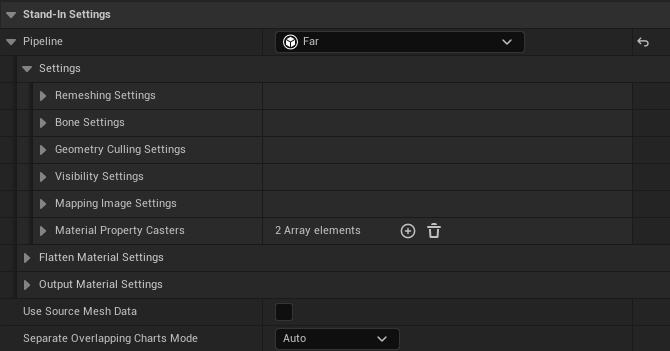
To be able to build the Stand-In you need to select a pipeline. Which pipeline to choose is up to you. We'll choose the Far pipeline because our finished asset will be something that should only be seen from a distance.
For now, we'll keep the default values set. If the default settings doesn't match your asset or if you want more control of how the Simplygon process should be done, you have access to all the pipeline settings by clicking Pipeline. There you can set whether we should cull the asset using the landscape, use visibility weights to remove invisible triangles or choose which material channels the baked material should use.
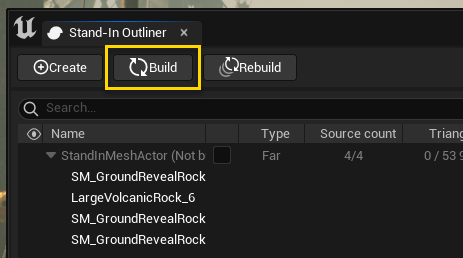
Once you're done, press Build to start the process.
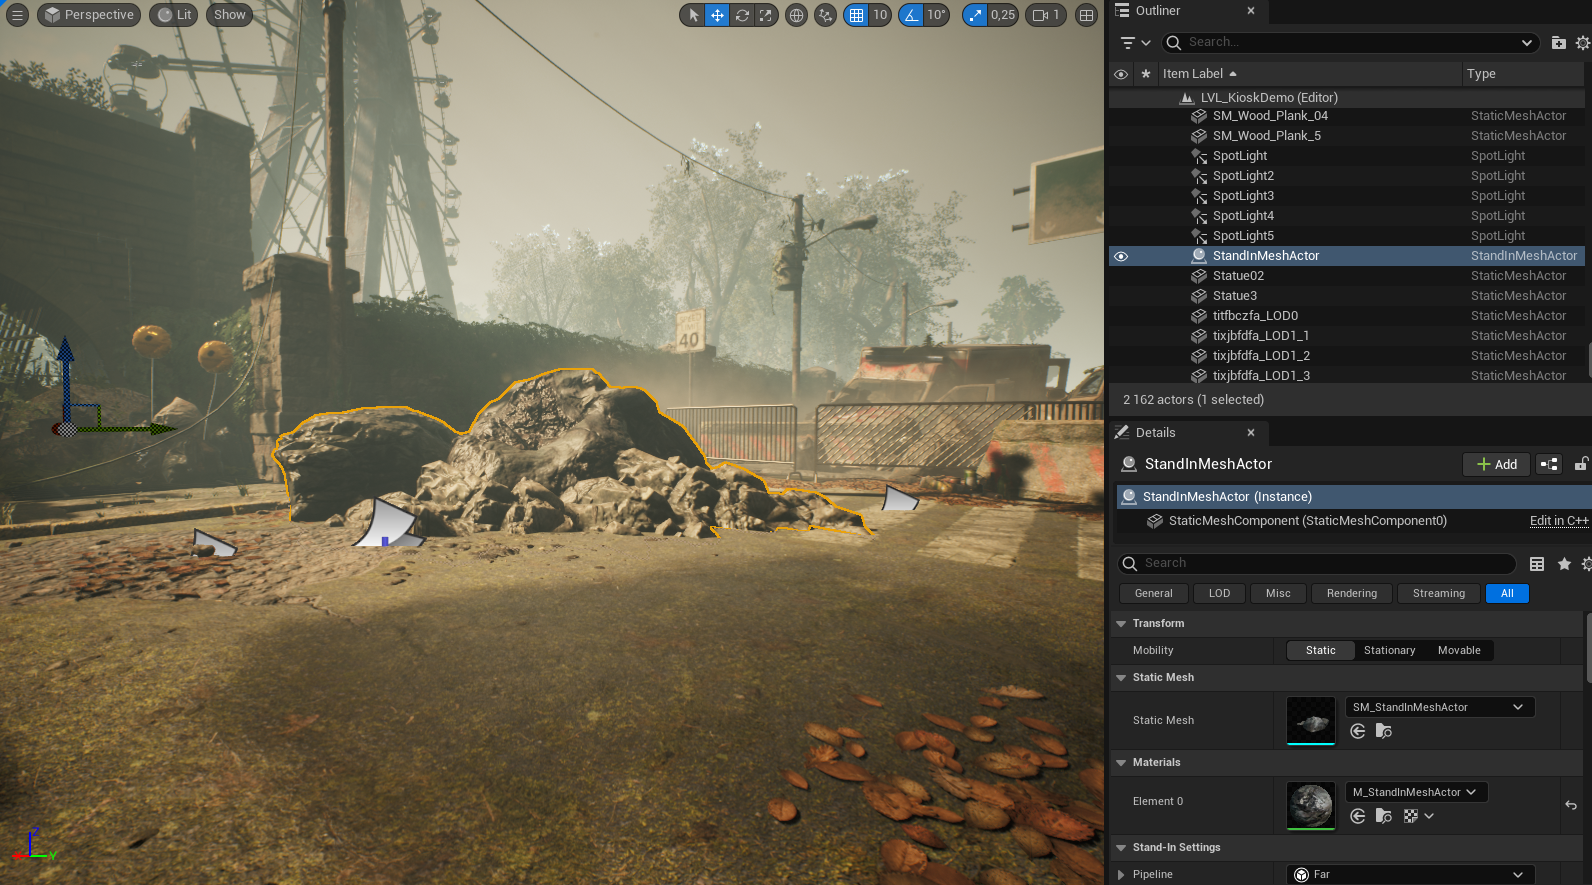
Once the build is finished you will have a finished Stand-In which you can preview in your level. All the separate objects have been merged into one. It's not until cook time that the actual replacement will take place so until then you will be able to move the separate assets around to be able to get your perfect set-up.
Supported Simplygon pipelines
Next steps
Now you should know the basics of how to work with Stand-Ins. You can learn more about the different features the Stand-Ins support by following these links.