LOD Recipe
The LOD Recipe is our preferred way of generating LODs for your Static and Skeletal Meshes. It exposes various settings that lets you fine-tune your LODs to perfection.
We'll go through a simple LOD chain example using a LOD Recipe and give you some tips for further learning once you've grasped the basics.
Simple LOD chain example
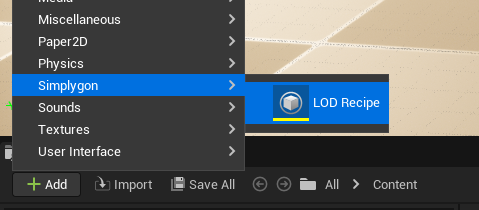
Run the editor and open the content browser. Click Add → Simplygon → LOD Recipe and type a name.
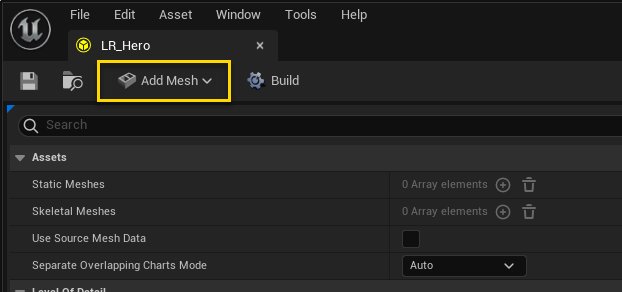
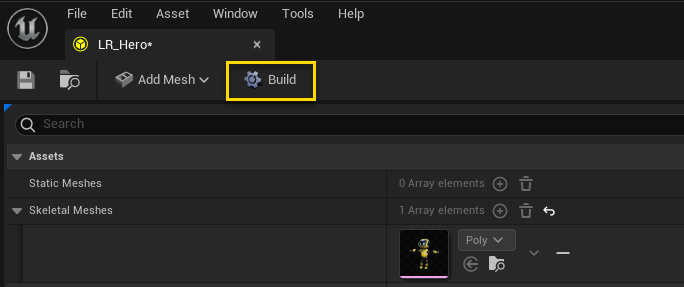
Open the LOD Recipe editor by double clicking the new asset. Add a mesh (skeletal and/or static) using Add Mesh in the toolbar.
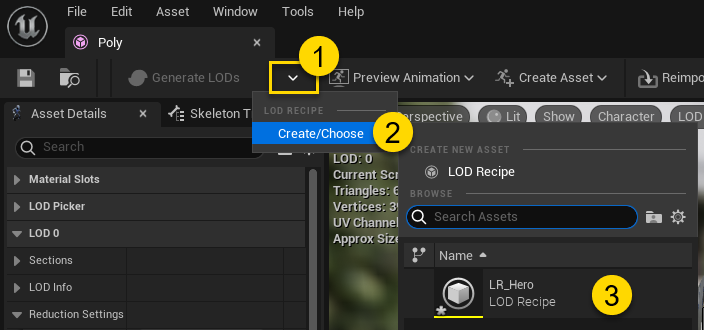
You can also assign a LOD Recipe to a mesh from inside the Static/Skeletal Mesh Editor, see figure 3.
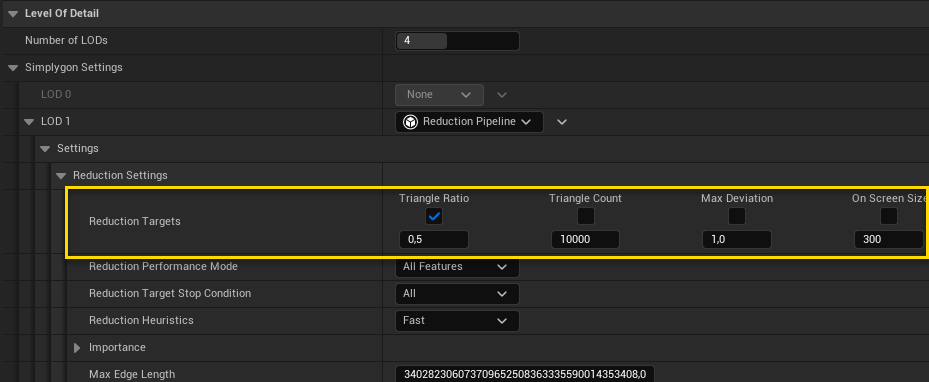
By default three LODs will be added to the recipe, all using the Reduction Pipeline but with their Settings → Reduction Settings → Reduction Targets Triangle Ratio set to 0.5, 0.25 and 0.125 respectively.
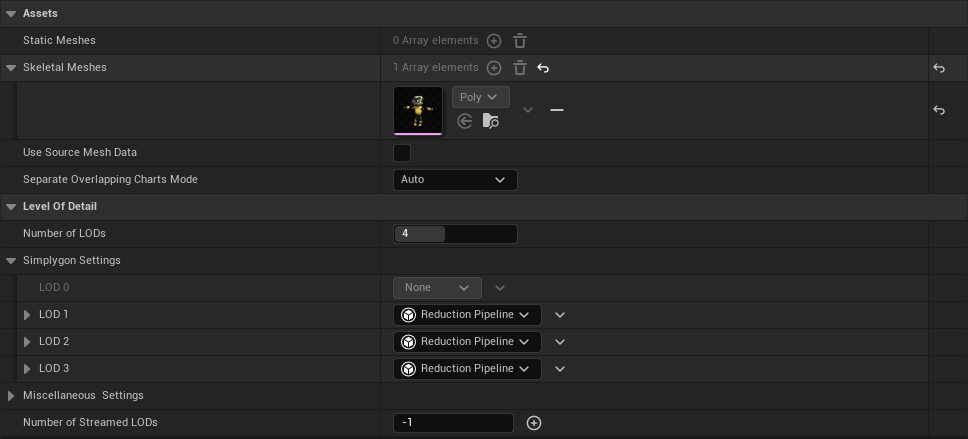
We will keep the default settings, but if you want more/less number of LODs you can change it under Number of LODs, as well as using a different pipeline to generate your lod. A good option to begin with might be to change what Reduction Targets you want to use. Depending on the Reduction Target Stop Condition you set it will either stop when all targets are reached or as soon as either one of them is fulfilled.
Once you're done setting your settings, press the Build button in the toolbar to generate the LOD chain.
After the process has finished you should be able to preview your new LODs in the Static and/or Skeletal Mesh Editor.

Top-left: LOD 0 at 622k triangles, top-right: LOD 1 at 311k triangles,
bottom-left: LOD 2 at 155k triangles, bottom-right: LOD 3 at 77k triangles
Supported Simplygon pipelines
Next steps
Now you should know the basics of how to work with LOD Recipes. You can learn more about the different features the LOD Recipe supports by following these links.