Setup Simplygon Grid
The Simplygon Grid Server service and Agent application are automatically started once installation has completed, given that these features have been selected during the installation phase.
Server
To setup additional user accounts which may then be used to login to the server via a client application such as Simplygon UI.
| Step | Action |
|---|---|
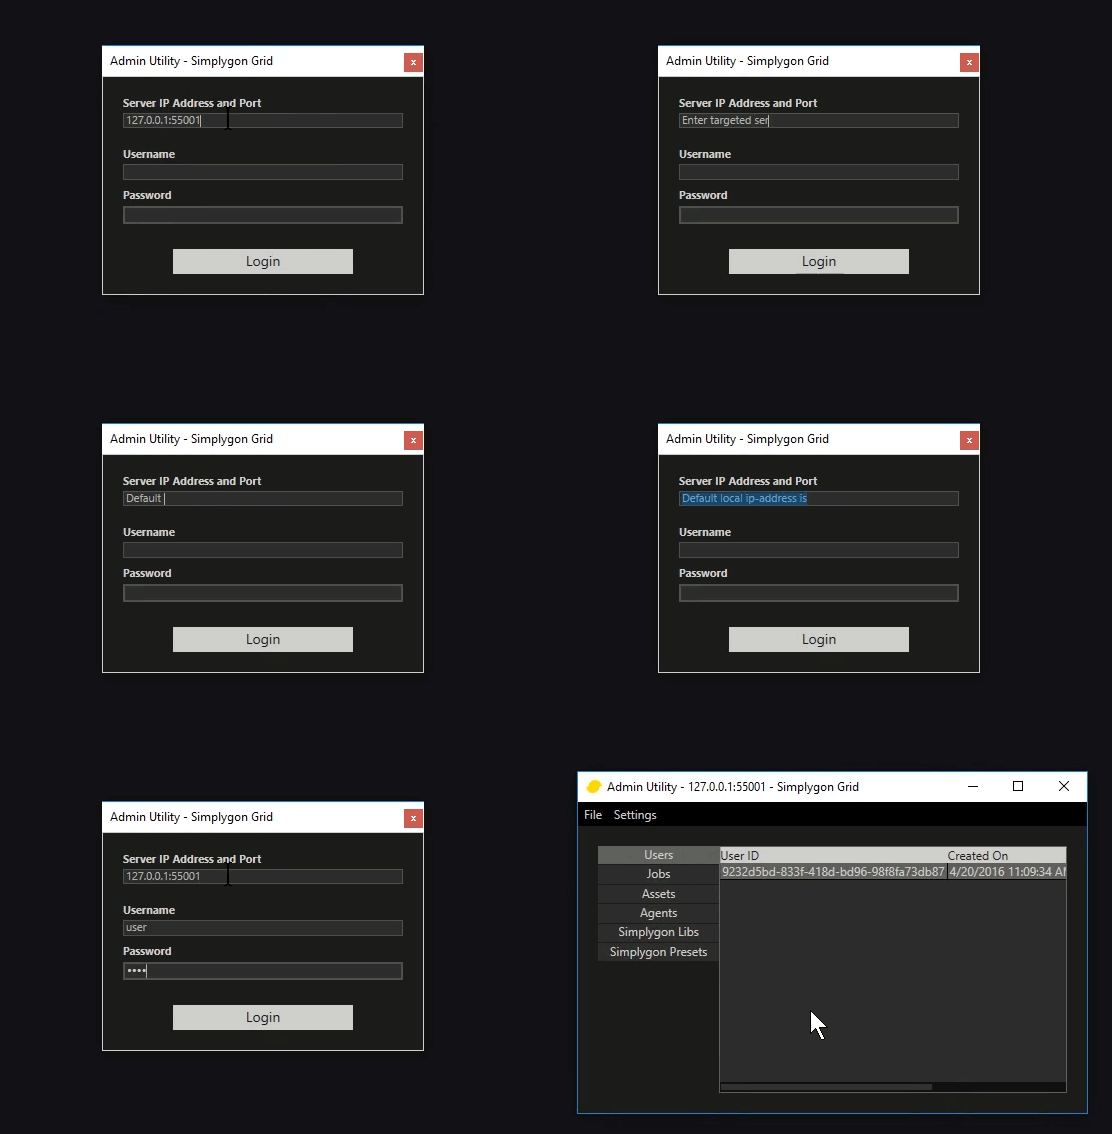
| 1 | Start the Simplygon Grid Admin Utility on a machine which has the application installed, perhaps the same machine as the Simplygon Grid Server runs on. |
| 2 | Login to the Admin Utility by using the default Admin Utility credentials: Username: user Password: user |
| 3 | Change admin username and password. |
| 4 | Add desired user accounts. |
| 5 | Ensure that the Simplygon Libs tab (in Admin Utility) contains atleast one entry and that the entry has the Preferred attribute checked. By default the Server should use the Simplygon Lib that ships with the installation package. |
Agent
If the Agent shall handle processing jobs from another Grid Server, then the targeted servers ip-address needs to be explicitly set:
| Step | Action |
|---|---|
| 1 | If the machine on which the Simplygon Grid Agent runs lacks a Simplygon SDK license, follow the Installing a license procedure. |
| 2 | Enter the targeted Server's IP-address and port, also making sure that there are sufficient firewall rules in place to allow Agent-Server communication. |
| 3 | Check that the Agent UI presents the intended Simplygon Lib version as set via the Admin Utility. |
| 4 | Login to the Simplygon Grid Server (which the Agent is set to connect to) by using the Admin Utility administrator account. |
| 5 | Check that the Agent is listed on the Agents tab in the Admin Utility application and that the Last Health Status entry seems reasonable. |
 The Admin Utility Agents tab showing the last reported 'alive' message of a connected Agent.
Note
No action is needed if the default local Grid Server is to be used. Local Grid Server IP-address is: 127.0.0.1:55001
Note
The Agent periodically sends 'alive' messages to server which are reflected by the Last Health Status entry - by right clicking the Agents tab and selecting Update the table contents are refreshed.
Pipeline check
The pipeline check aims to make sure that the Simplygon Grid system works as intended in that a client can send and receive processing jobs with a desired result.
| Step | Action |
|---|---|
| 1 | Start the desired client application such as the Simplygon UI. |
| 2 | Start the Simplygon Grid Admin Utility on a machine which has the application installed, perhaps the same machine as the Simplygon Grid Server runs on. |
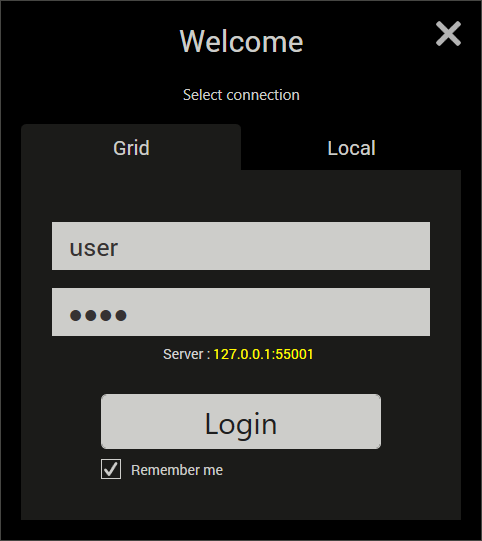
| 3 | From Simplygon UI, login to the Server for which the pipeline check is being conducted: |
| 4 | Load an arbitrary asset into Simplygon UI and start a processing job using any processing settings. |
| 5 | Select the Jobs tab in Admin Utility; once the Server has received the processing job, a job entry should be created and the job's Status entry can be monitored by continuously updating the Jobs tab by right clicking on it and selecting Update. |
| 6 | If the job has not yet finished processing, check its progress in the Agent UI. |
| 7 | Once the job has finished processing, download, import and check the processing result in the Simplygon UI. |