Skeletal Mesh LODs
If the above clip doesn't load correctly, click here.
Creating Skeletal mesh LODs
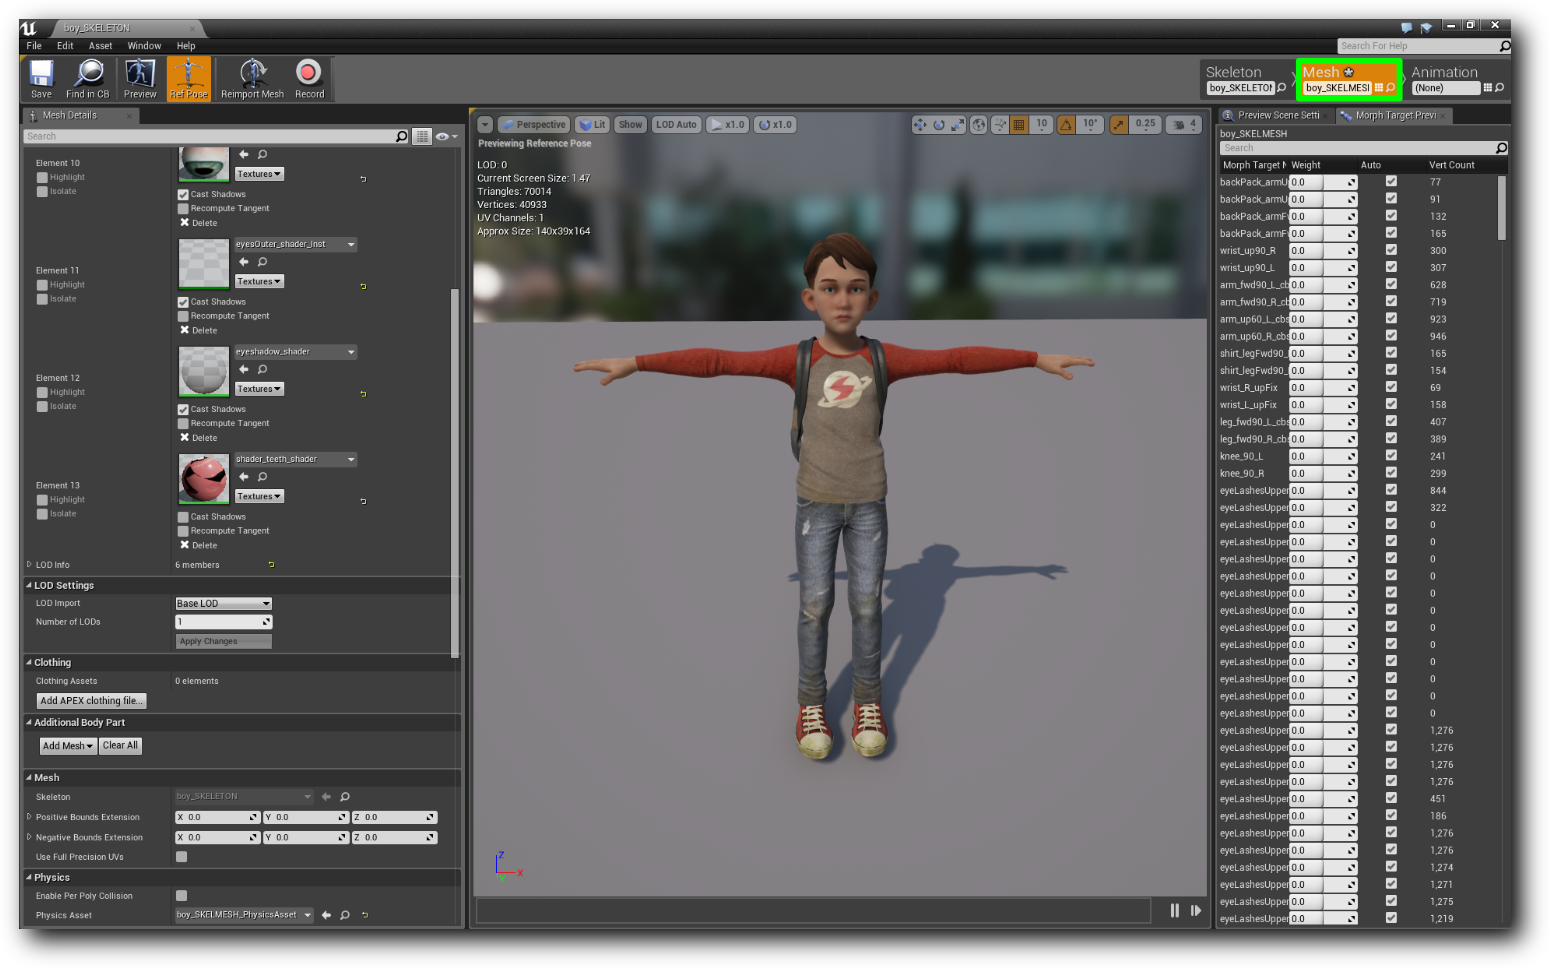
Start by opening any skeletal mesh in Persona and make sure that you are in Mesh editing mode. In this example I will be using the kid from Kite demo.

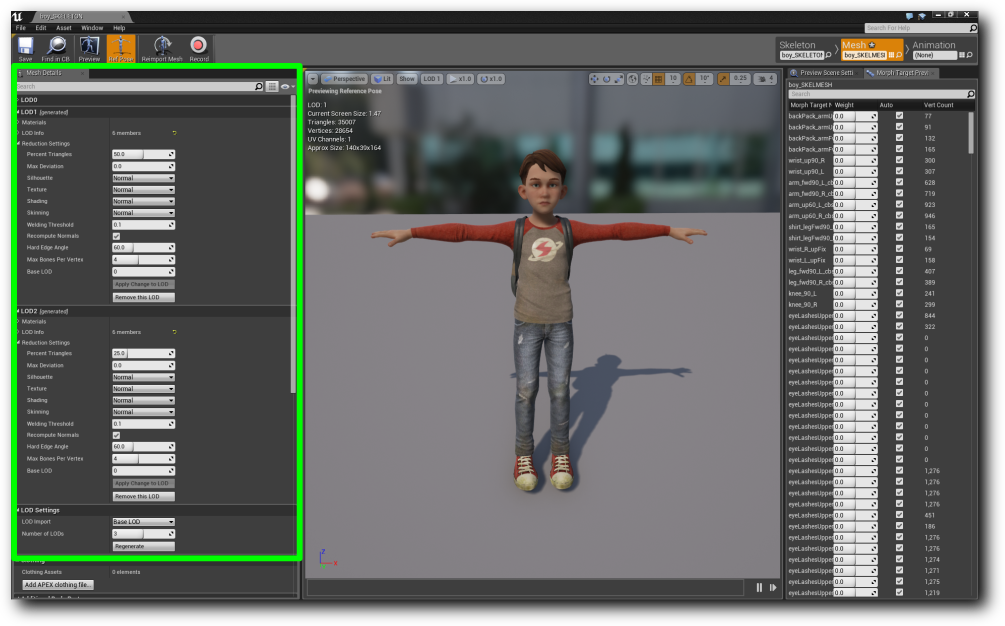
In the Mesh Details tab you'll notice LOD Settings, change Number of LODs to 3 (can choose any number of course, but for this example we'll use 3) and press Apply Changes.

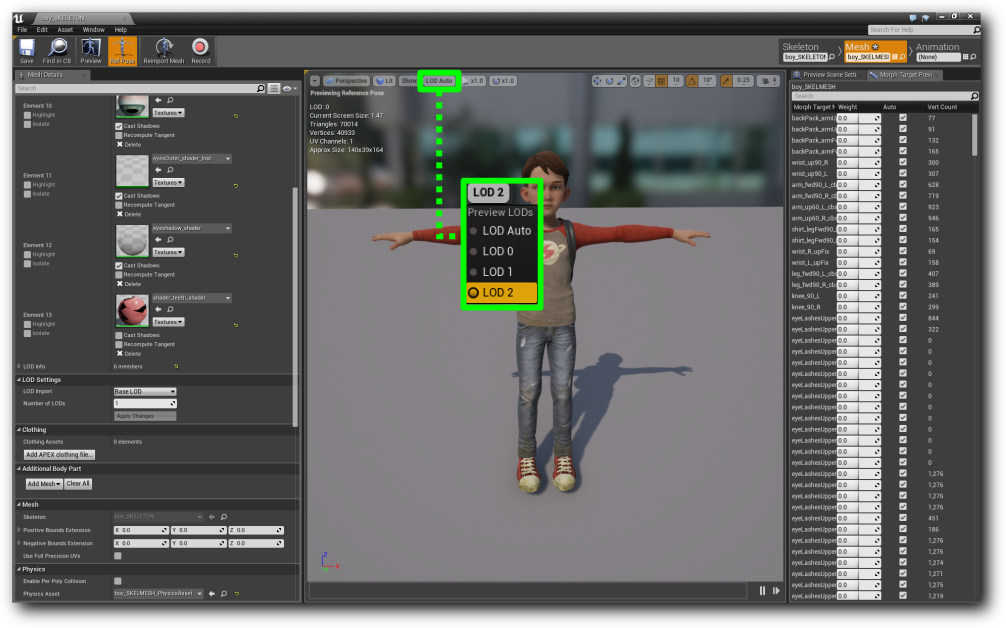
At this point you might already have notice 2 LODs has been generated with default settings. Where LOD1 has 50% triangles left and LOD2 has 25% triangles left. These LODs can be previewed by using the LOD dropdown button in the viewport.

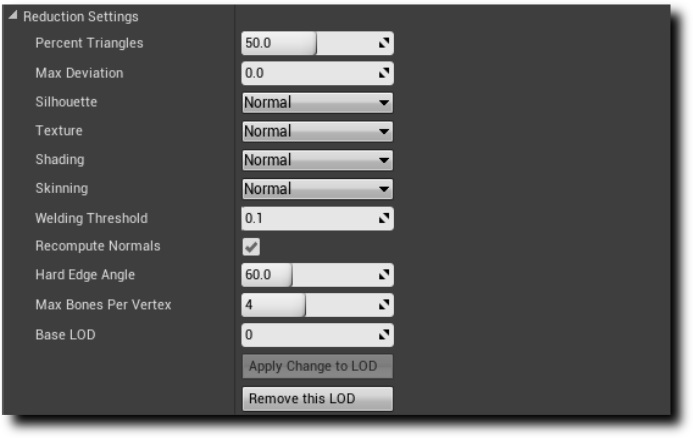
If you would like to iterate your LODs you can do so by changing the reduction settings per LOD.

Reduction Settings

| Type | Description |
|---|---|
| Percent Triangles | Percent of triangles to keep. |
| Max deviation | Specify how much the LOD should deviate from original LOD. |
| Silhouette | A higher value will result in a higher silhouette preservation. |
| Texture | A higher value will preserve texture coordinates better, thus introduces less distortion of the textures. |
| Shading | Specifies how important shading quality is. Choosing a higher setting will cause the simplification to better preserve hading quality but will result in a higher triangle count. |
| Skinning | A higher value will result in higher skinning preservation. |
| Welding threshold | Weld vertices that are withing this distance |
| Recompute normals | Specify whether or not to recompute normals |
| Hard edge angle | Any edge between two triangles, where the angle exceeds the set value, will not cause smoothing of normals. |
| Max bones per vertex | Specify maximum bone influences per vertex |
| Base LOD | Specify what LOD you would like to use as base LOD while generating the current LOD. E.g you can use LOD1 as base when generating LOD2 |
 Simplygon 10.2.400.0