 Simplygon 10.3.6400.0
Stand-In: Clipping geometry
This how-to will walk you through how to tag Actors as clipping geometries for your Stand-Ins. Clipping geometries can be used to improve the processing results further or to cull away unwanted sections in a mesh. Clipping geometry is supported by both Stand-In Far- and Near pipelines.
1. Tag Actors as clipping geometry
Add the Actor to your Stand-In. You can do this by dragging and dropping the Actor from the World Outliner to the Stand-In in the Stand-In Outliner. Right-click on the Actor and select "Tag as ClippingGeometry", see figure 1.
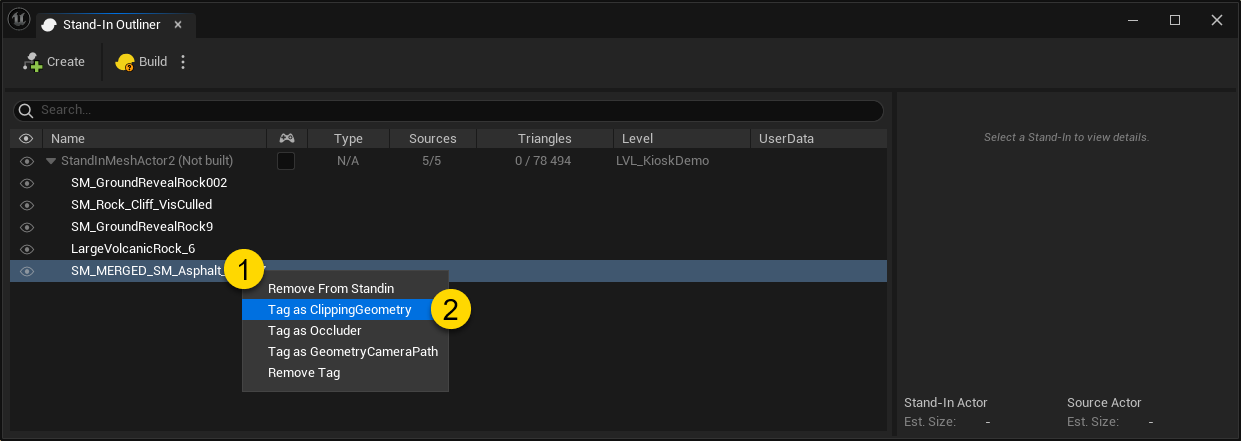
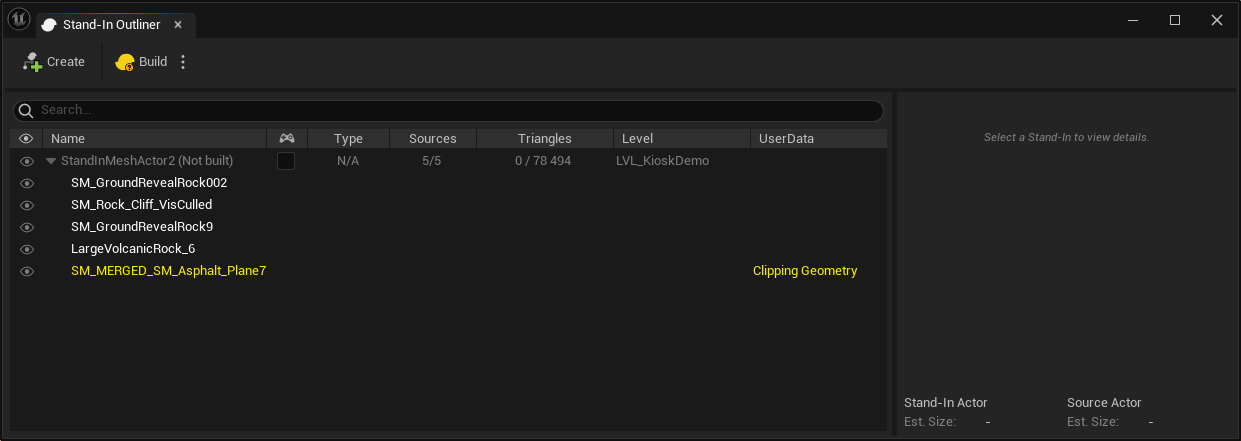
Figure 2 shows the Actor tagged as clipping geometry.
2. Set up your pipeline to use clipping geometry
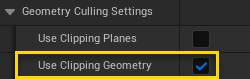
To make Simplygon aware of your clipping geometry you need to enable "Use Clipping Geometry", you can find it under "Geometry Culling Settings" for any Far- or Near Stand-In.
3. (Optional) Set up your pipeline to use culling
If you plan on using the clipping geometry for culling, you might need to enable further settings.
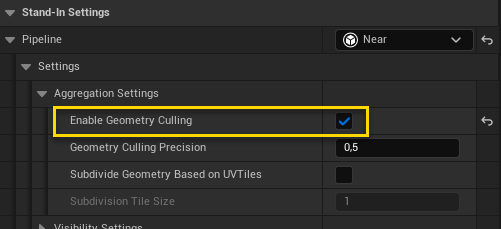
Near Pipeline
- Aggregation Settings → Enable Geometry Culling = true
Far Pipeline
- No extra settings needed.
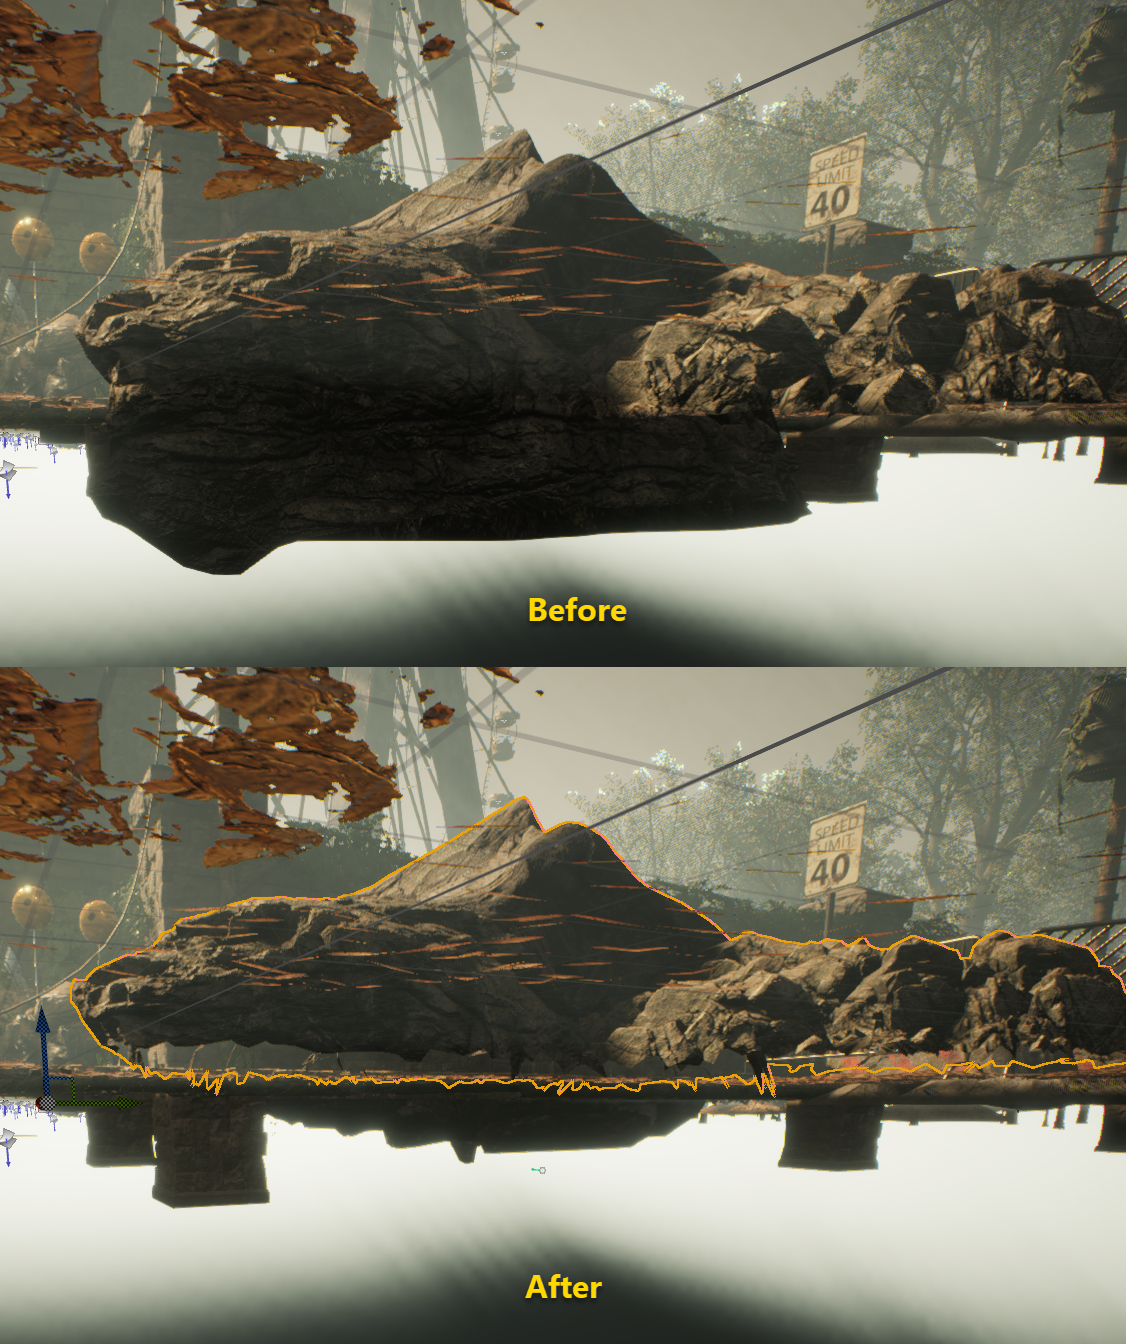
Example using clipping geometry for culling
Figure 5 shows an example of culling using the paved road mesh as clipping geometry.