# Installation of the Unity plugin
To download the Simplygon installer, go to the Simplygon website (opens new window) and locate the "SDK Installer", click download. Once the download has completed, start the Simplygon installer and follow the instructions presented on the screen. For more details about the installer, options and license setup, see Simplygon installation.
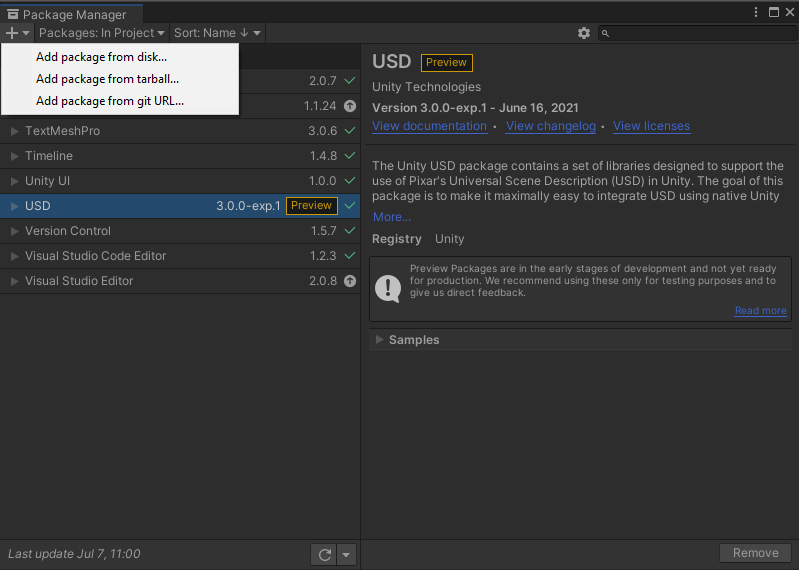
The Simplygon Unity plug-in needs to be manually installed for each Unity project, and as the plug-in is dependent on Pixar's USD (Universal Scene Description) (opens new window) file format, the USD package provided by Unity needs to be installed as well. See the instructions below on how to install the Simplygon Unity plug-in as well as Unity USD.
# Simplygon Unity plugin
When the Simplygon installation has completed, copy Simplygon.Unity.EditorPlugin.dll from %PROGRAMFILES%/Simplygon/9/Unity/bin/ to the assets directory (or a sub-directory) of your Unity project, for example to C:/Users/<YourUserName>/<UnityProjectName>/Assets/Simplygon (assuming default project path).
The Simplygon Unity plug-in should now load up automatically every time Unity is started. Go to Window -> Simplygon to bring forward the Simplygon UI, if it is not already present. The Simplygon UI can be docked to most docking areas inside Unity; just click and hold the Simplygon label and place it at the location you prefer.
# Unity USD plugin
The Simplygon Unity plug-in is utilizing the USD file format as intermediate between Unity and Simplygon. It is required to install the Unity USD package as described in this blog-post (opens new window).
IMPORTANT NOTE
If you can't find the USD 3.0 package in the Package Manager, please add the USD package using the git URL com.unity.formats.usd.

