Visibility / culling using geometry as visibility volume
Geometry that can't be seen from certain angles and geometry that is occluded can have an impact on performance, memory and disk space. Simplygon has the ability to optimize geometry and remove parts that aren't visible from certain points in space. If material baking is used in combination with visibility Simplygon can decide how much texture space is needed based on the level of visibility. Unused texture space from culled triangles will allow higher texture density for the ones that remain.
This section goes through how to prepare a scene for the Visibility feature. The visibility feature require the user to setup one or more cameras or visibility volumes, assign them to a selection-set and then select the set in the Simplygon UI. This example will focus on visibility volumes.
A visibility volume is just an arbitrary mesh where each vertex (once in Simplygon) will represent one omnidirectional camera. A higher vertex density will (in most cases) generate higher quality culling, at the expense of computing power.
Below we have an asset that represent a city block. The grey volume is a mesh volume that represents all possible locations of where the city block can be viewed from.
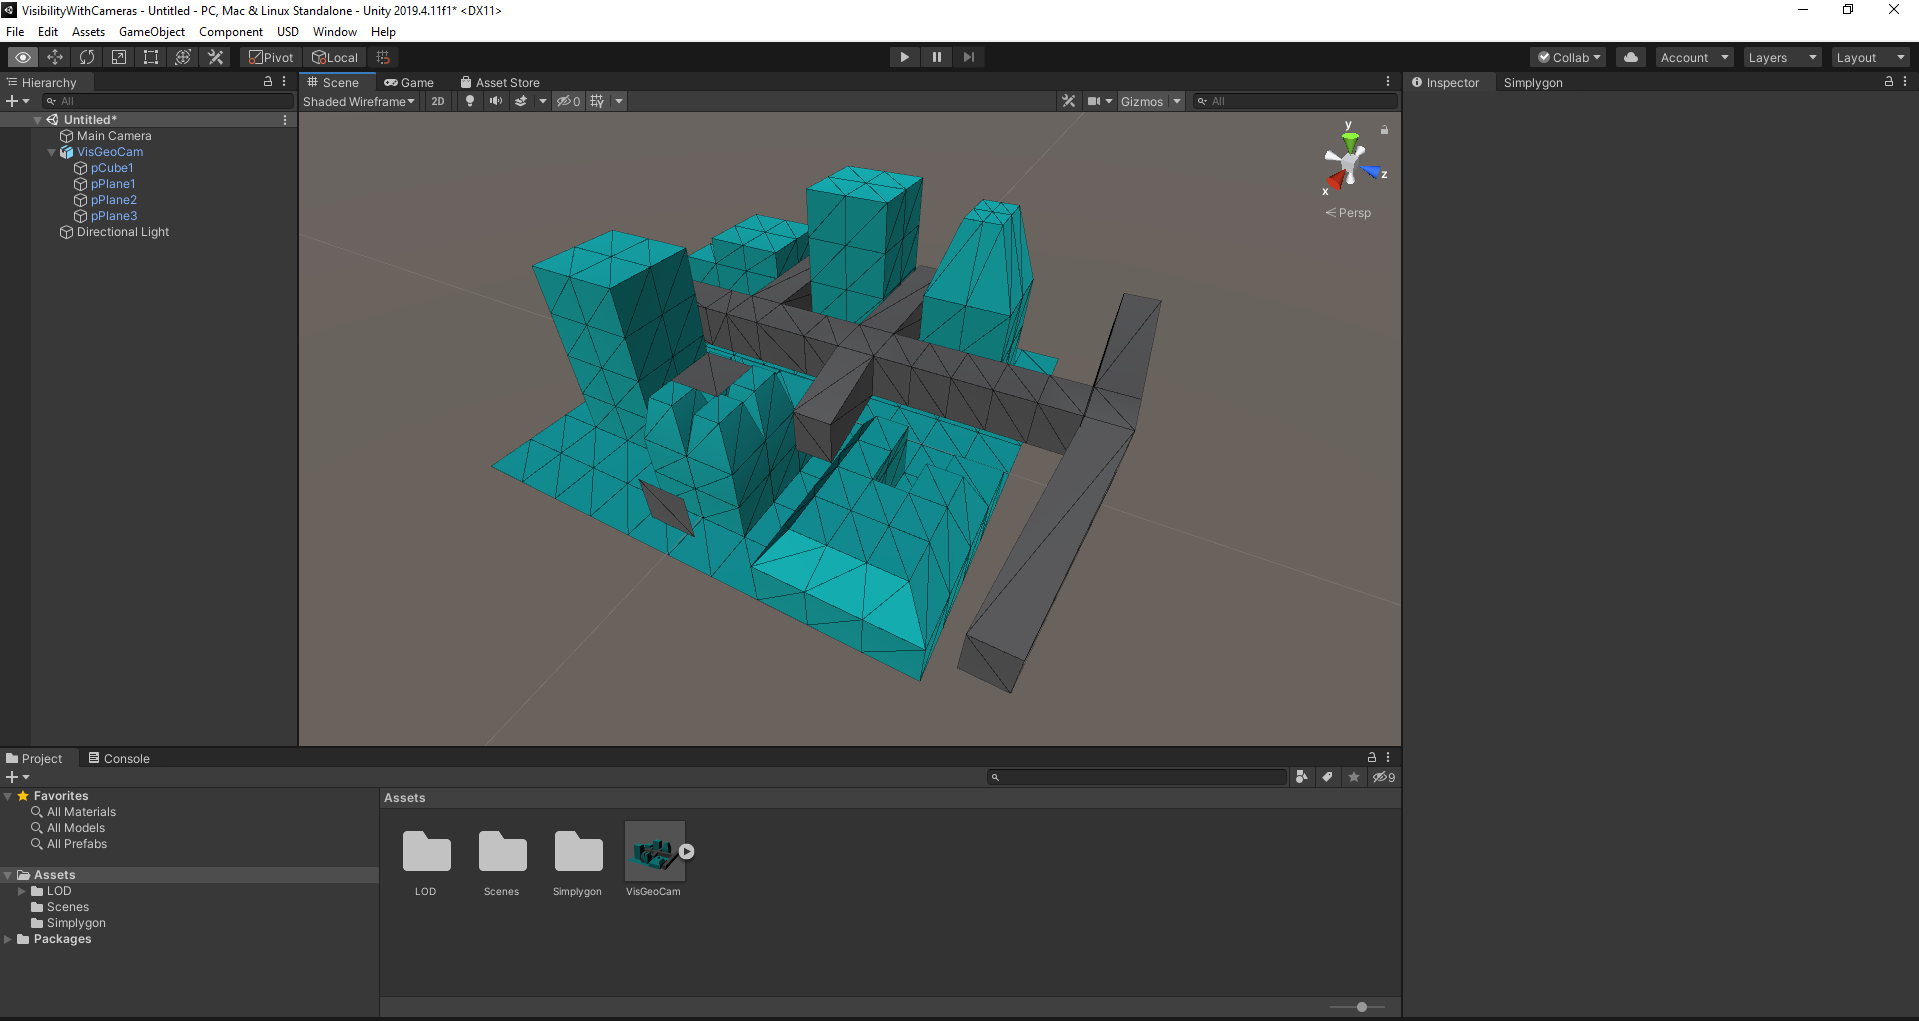
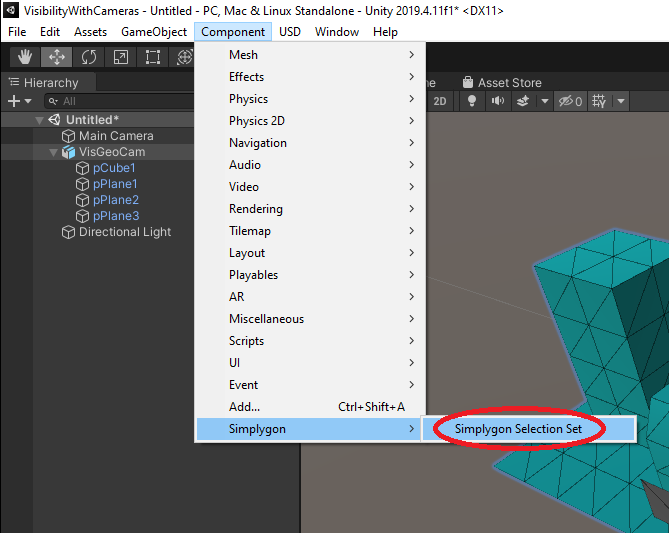
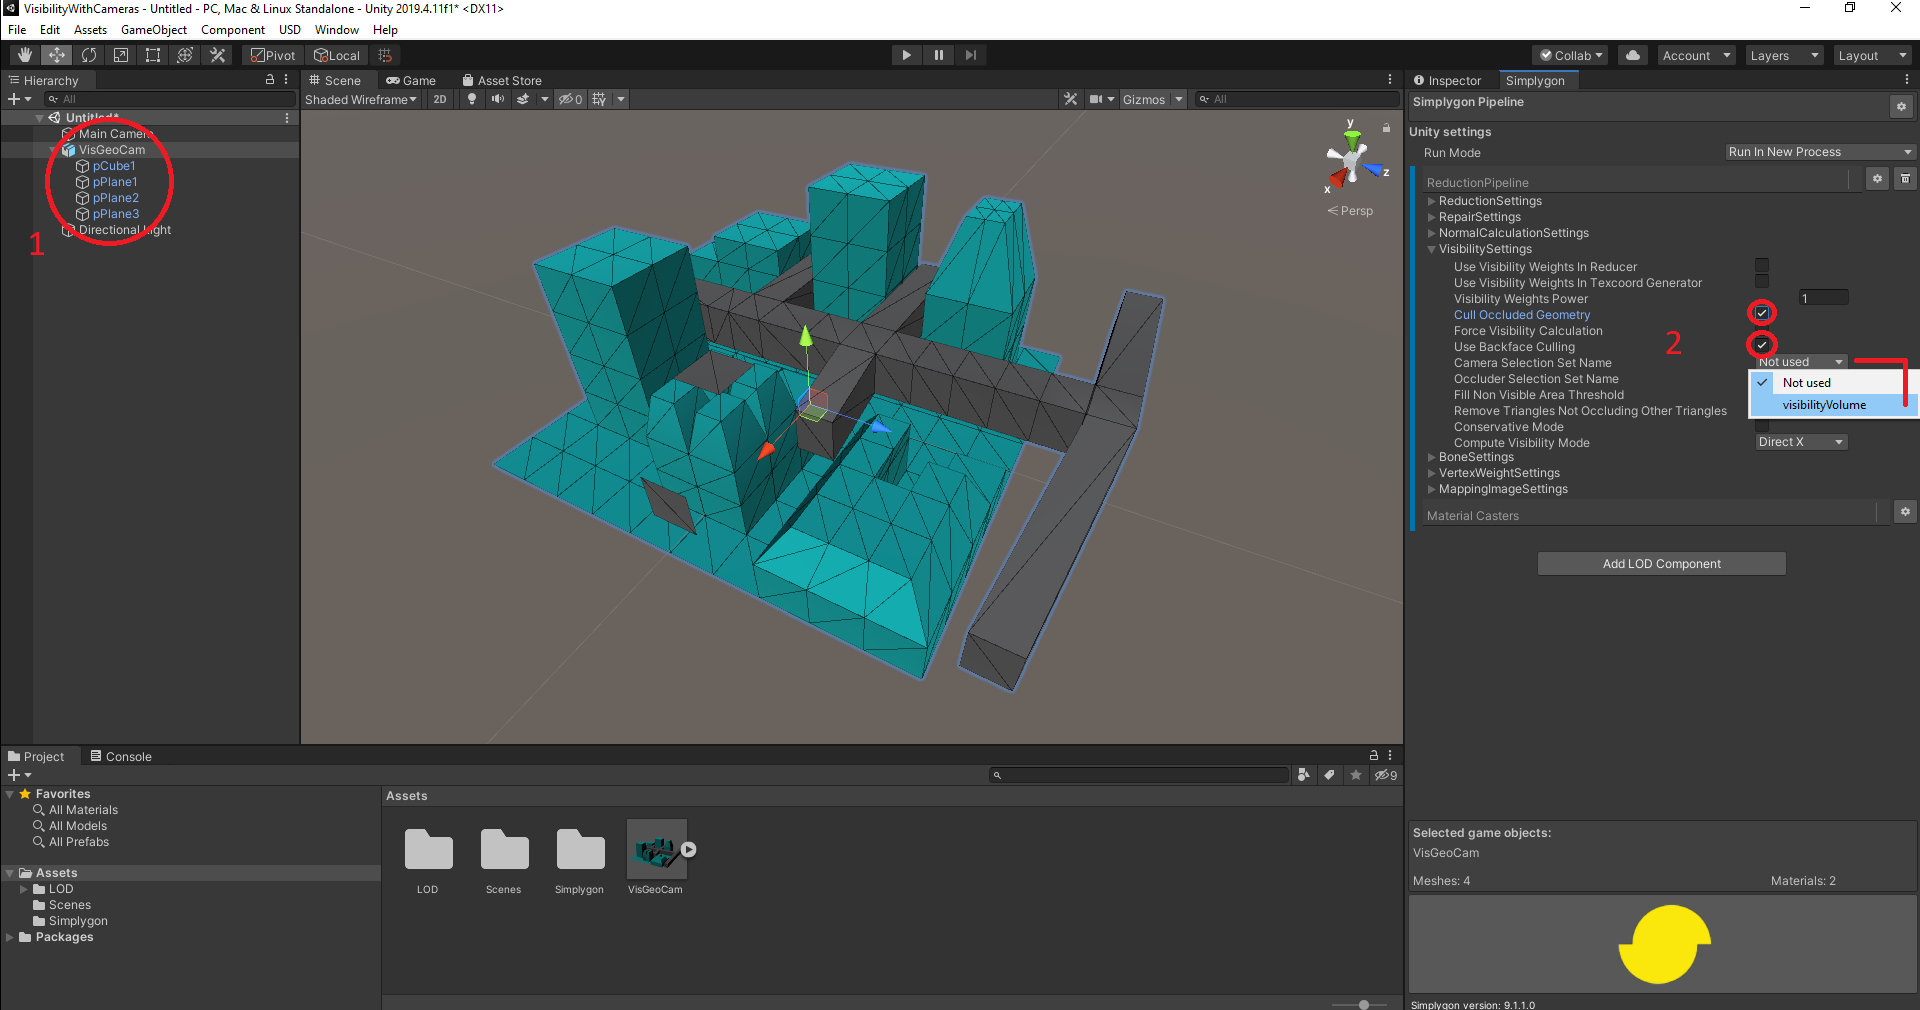
The next step is to create a selection-set that includes the visibility volume. As Unity does not have any official support for selection sets we'll need to add the Simplygon Selection Set component to the visibility volume, go ahead and select the two volume, then go to the main menu and select Component -> Simplygon -> Simplygon Selection Set or to the inspector and add the component 'Simplygon Selection Set'.
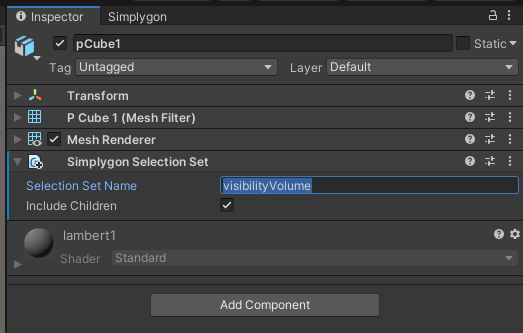
Now go to the Simplygon Selection Set component for the visibility volume, change the name of the set to "visibilityVolume". Nodes having a selection set component with identical name will be grouped into the same set during export.
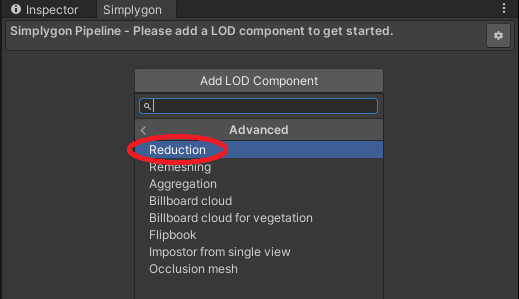
Next we create the pipeline. Click on Add LOD Component -> Advanced -> Reduction to create a Reduction Pipeline. The reduction ratio is by default set to 0.5 (50%) so let's go with that in this tutorial. Now expand VisibilitySettings and check "Use Backface Culling" and "Cull Occluded Geometry".
Select the asset in the Viewport or Outliner (required for UI to detect Simplygon Selection Set component), then in the "Camera Selection Set Name" dropdown, choose the selection-set named "visibilityVolume".
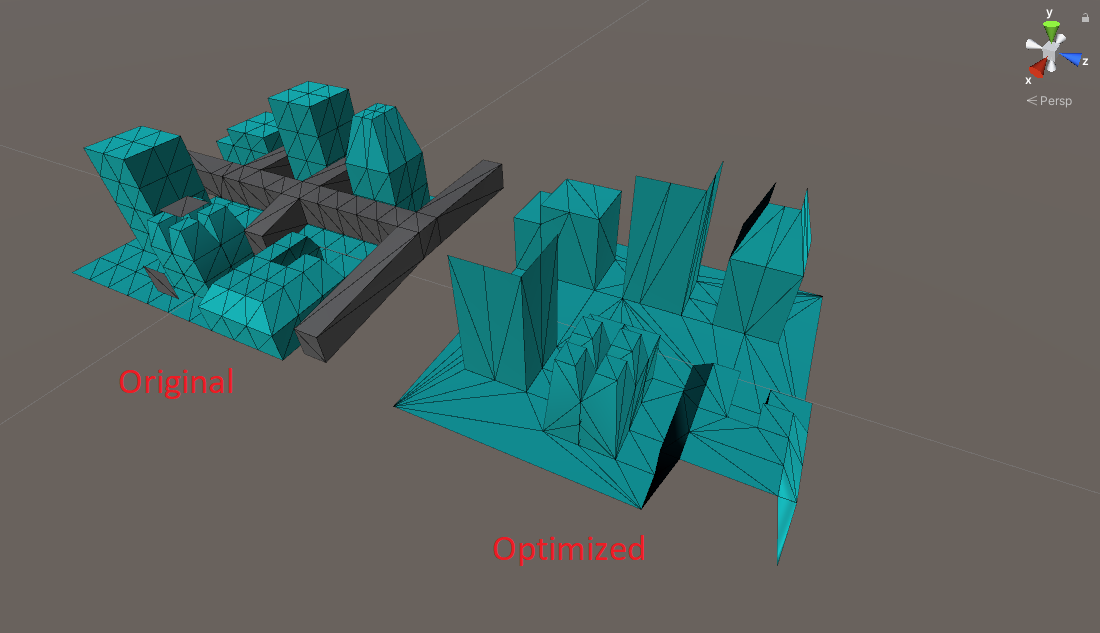
The final step, press the yellow Simplygon icon in the Simplygon UI to start the optimization. When the optimization has completed the result will be returned to Unity. All non-visible areas have been completely removed.
 Simplygon 10.2.10100.0