# DirectX material to Simplygon material
This section goes through how to set up a DirectX (HLSL) as well as how to export material properties to Simplygon through scripting and shading networks.
Simplicity before complexity - let’s create a cube as in figure 1. This cube will be the target for our soon to be created DirectX material.
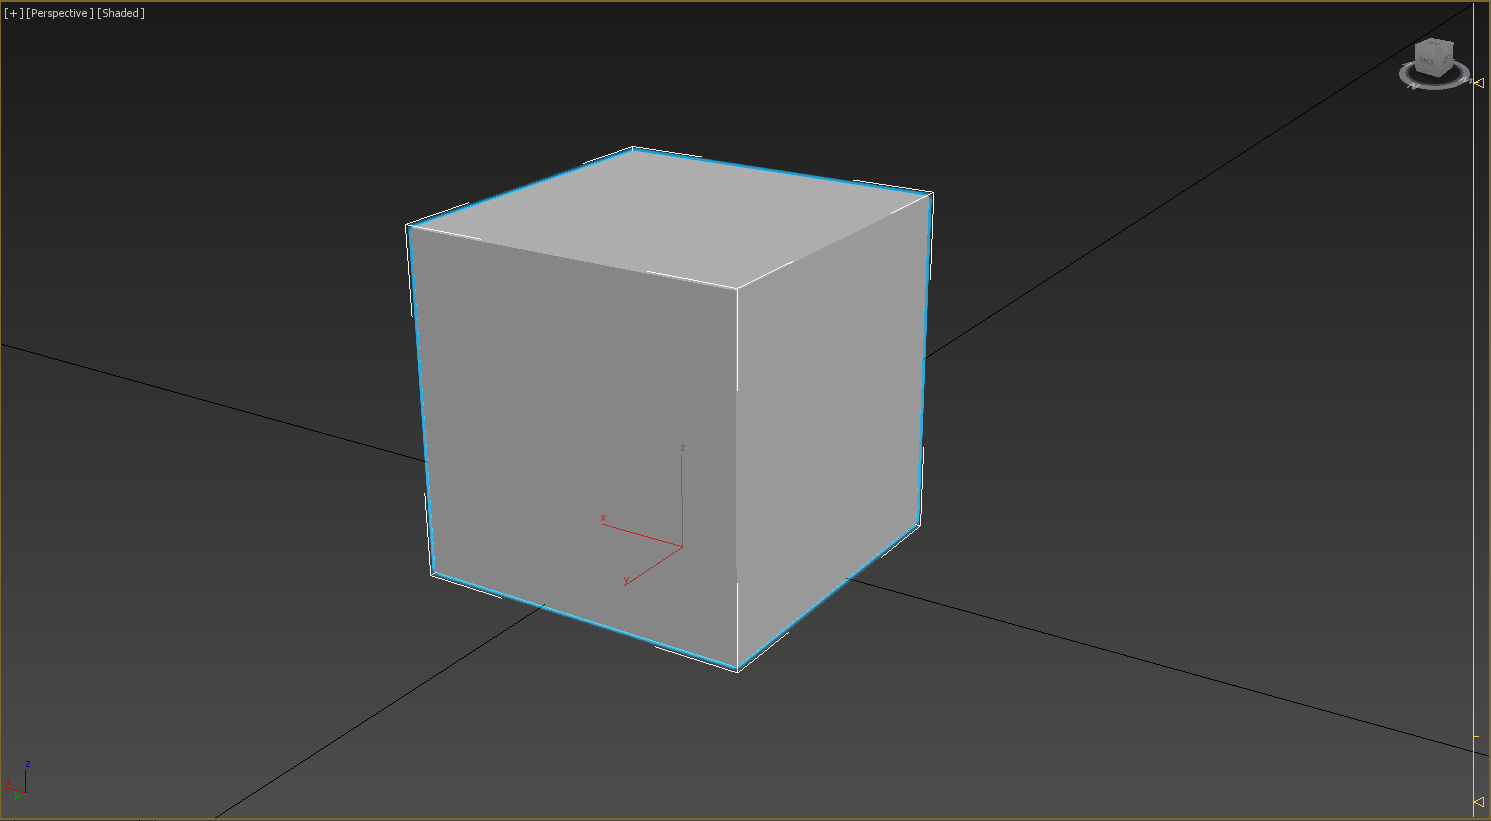
Figure 1: A cube.
To create a new DirectX material, go to the Material Editor (Rendering -> Material Editor), select an empty slot and click the Standard button (figure 2). The Material/Map Browser should now list all available materials. Select DirectX Shader in the list under standard materials and click OK.
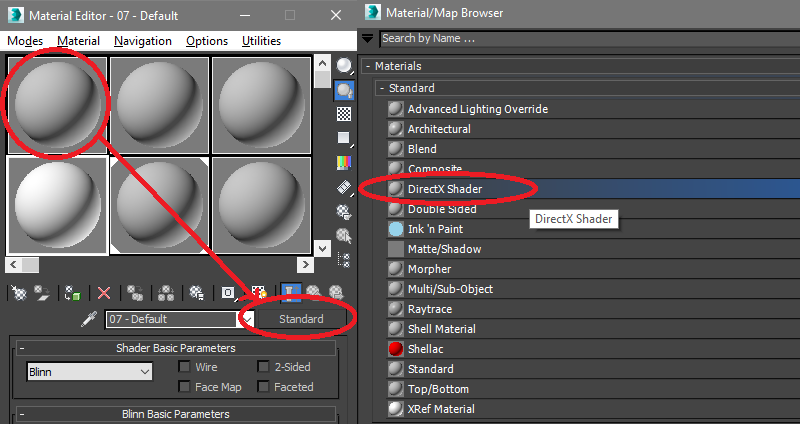
Figure 2: Create DirectX material.
The Material Editor should now show the new (default) DirectX material including it’s HLSL properties. We will name it MyMaterial to make it consistent throughout this example (figure 3).
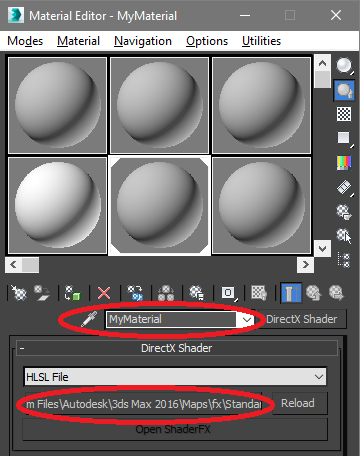
Figure 3: Change HLSL shader.
While the standard HLSL shader might be suitable in some cases we will go for our own simple HLSL shader in this example, it will make more sense when doing the material mapping. Now, click on the button containing the path to the HLSL and navigate to the shader you would like to use (figure 3, figure 4).
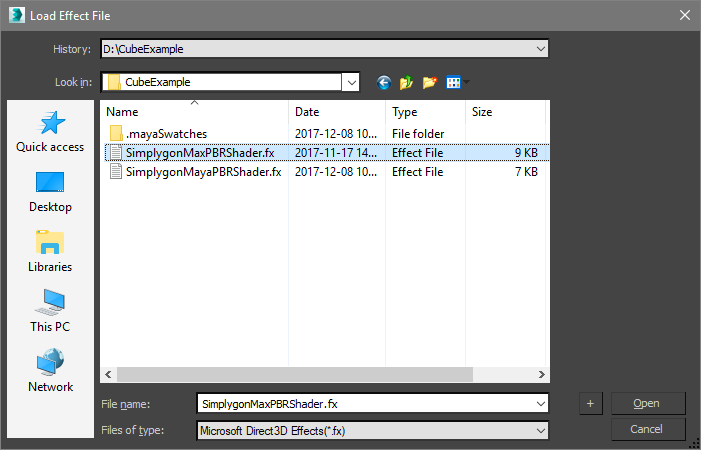
Figure 4: Select effect file.
The Material Editor is now listing various material properties defined in the HLSL shader (figure 5). In this example we use a shader with texture slots representing a simple PBR material, the rendering has been somewhat simplified to make this example easier to follow.
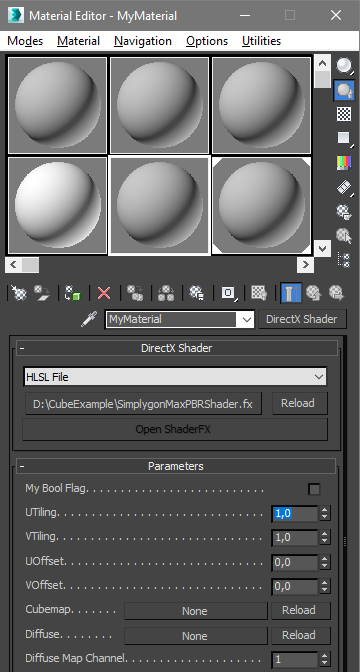
Figure 5: Shader in material editor.
It is now time to assign the material to our asset: Select the asset, then go to the Material Editor, select the recently created shader material (MyMaterial) and click the button with a tiny globe and green box. Another way to do this is to simply drag the material using left mouse button from the Material Editor and drop it onto the asset.
The asset should now render with the new material. We’ve already prepared some textures for this specific material to make it somewhat more describing (figure 6).
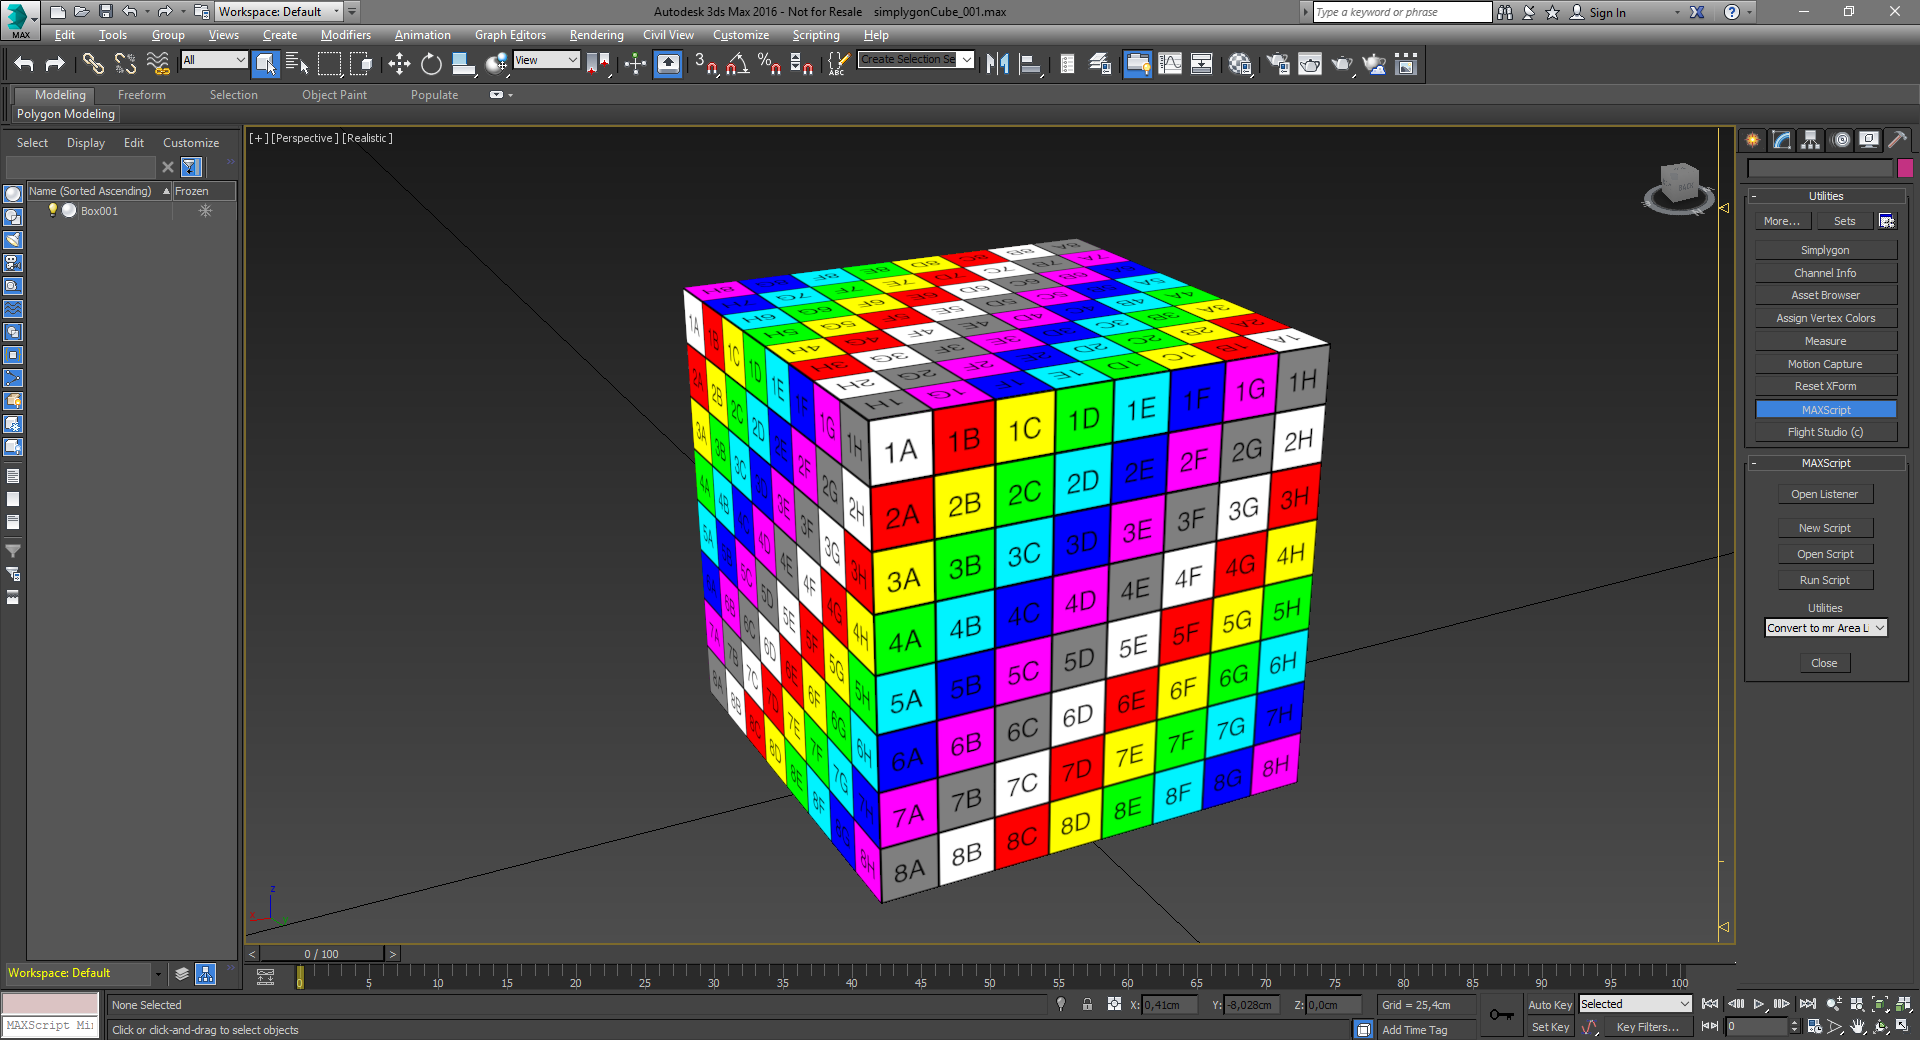
Figure 6: Cube in viewport.
That is it, we now have an asset with a HLSL shader attached to it! The next section will go through the steps necessary to translate the shader to shading networks.
# Scripting
To translate a DirectX material to a Simplygon material you would probably want to extract certain properties from your shader, for example a texture. Below is a snippet of a DirectX shader defining a texture.
Representation of the texture definition in the material editor.

Figure 7: Texture and mapping channel in material editor.
# Export
The first thing we need to do is to map the shader properties to shading networks to make the material compatible with Simplygon. Let’s start with defining which material to be overridden.
Then we create a texture node that points at a texture in the shader.
To connect the shading network exit node to a material channel, in this case to a channel named Diffuse, we will add another row to our script.
Before calling the Simplygon function there are some optional settings that can be set, for example texture output directory which can make life easier when importing/handling textures. Remember to select the asset before running the Simplygon command, otherwise the command will be ignored.
Let us add the NormalsSampler texture to the Normals channel, this should be fairly easy from what we have learned. Let us take a look at the definition in the HLSL shader.
We add similar rows for normals as for diffuse.
This is a short example on how to use shading networks for translating a custom HLSL shader. Please take a look at the tables above including shading nodes and script functions to see what is available. There are also a couple of examples at the end of this document which focusing more on shading nodes and hierarchy. This is the end of the export part and how to get the asset to Simplygon. What happens next is more dependent on the settings that is used for processing and what kind of LODs that come back.
# Import
The Simplygon Max plug-in stores some material information from the last run which can be accessed via script. We will start by asking the plug-in for the material name of a mesh, material channels followed by textures.
What remains is to create target DirectX materials (or any other material) and map back the information that was fetched from sgsdk_GetMaterialForMesh, sgsdk_GetChannelsForMaterial, sgsdk_GetChannelsForMaterial and sgsdk_GetMappingChannelForChannel. We've excluded the material creation part from this tutorial as there usually are many lines of code and special conditions that does not really contribute that much, see DirectX example for complete import / export scripts.