# CGFX / DirectX material to Simplygon material
This section goes through how to set up a CGFX / DirectX (HLSL) material, how to export and import a material to and from Simplygon using shading networks. We recommend reading Shading network concepts before proceeding.
First, make sure the DLL for the specific material type is loaded in the plug-in manager (Windows -> Settings / Preferences -> Plug-in Manager) as in figure 1.
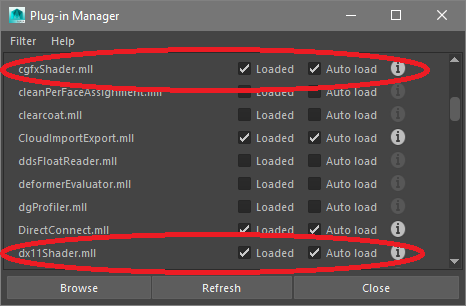
Figure 1: CGFX / DirectX plug-in loaded in the plug-in manager.
Let’s create a cube as in figure 2. This cube will be the target for our soon to be created DirectX material.
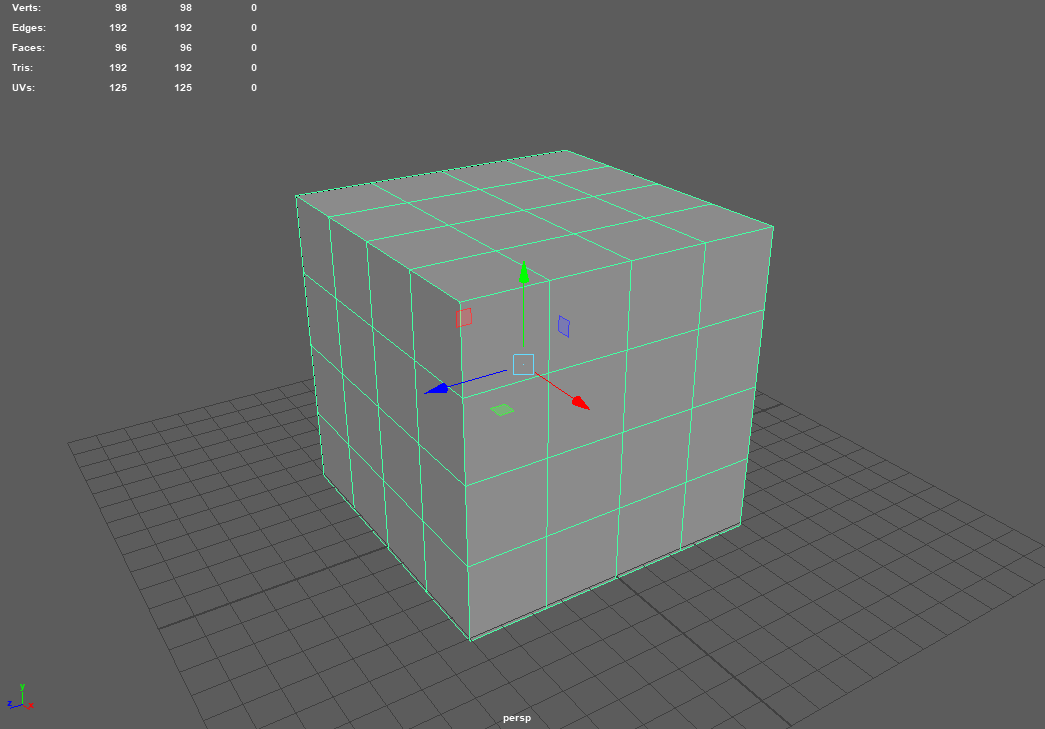
Figure 2: A cube.
To create a new material, go to Hypershade (Windows -> Rendering Editors -> Hypershade) and click either Cgfx or DirectX shader (figure 3).
The following sections will focus more on the CGFX shader, and as most things are identical for DirectX shaders it would be redundant. See DirectX and CGFX examples for complete import / export scripts.
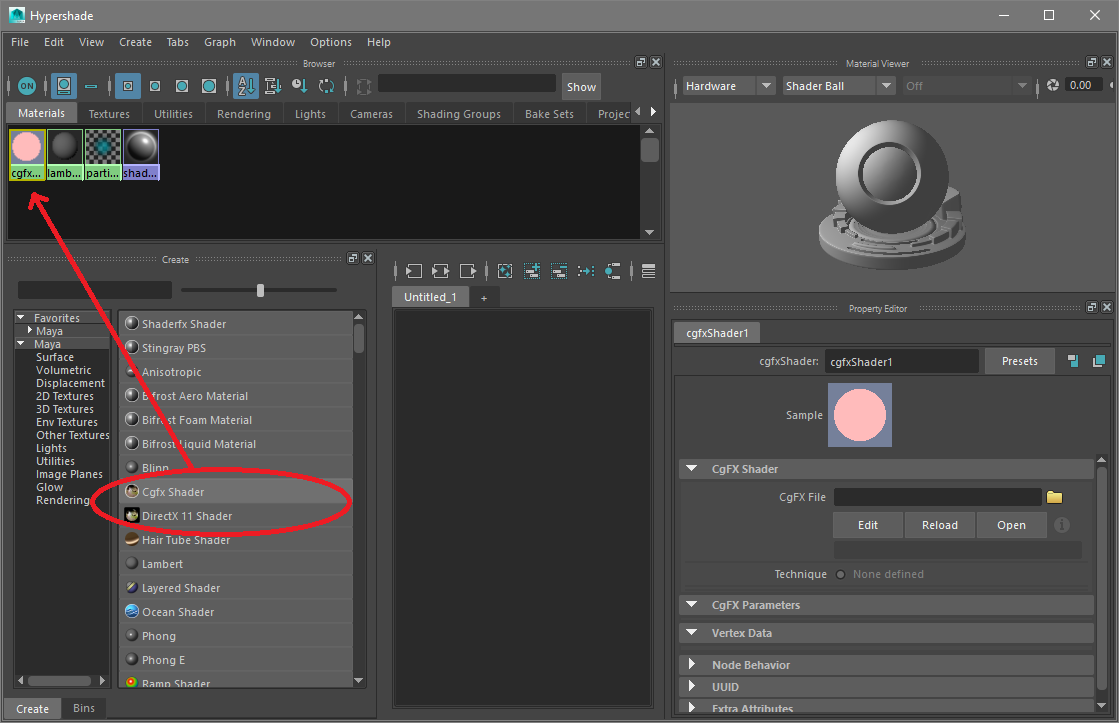
Figure 3: How to create CGFX material in Hypershade.
In the panel (figure 3) there is a material name which we name MyMaterial in this example. There is an empty field labeled CgFX File below the name - click Open and navigate to the HLSL file you want to use. The Property Editor should now list various material properties depending on how the HLSL is written as well as the technique (figure 4).
In this example we use a HLSL shader with texture slots matching a simple PBR material, the rendering is somewhat simplified to make this example easier to follow.
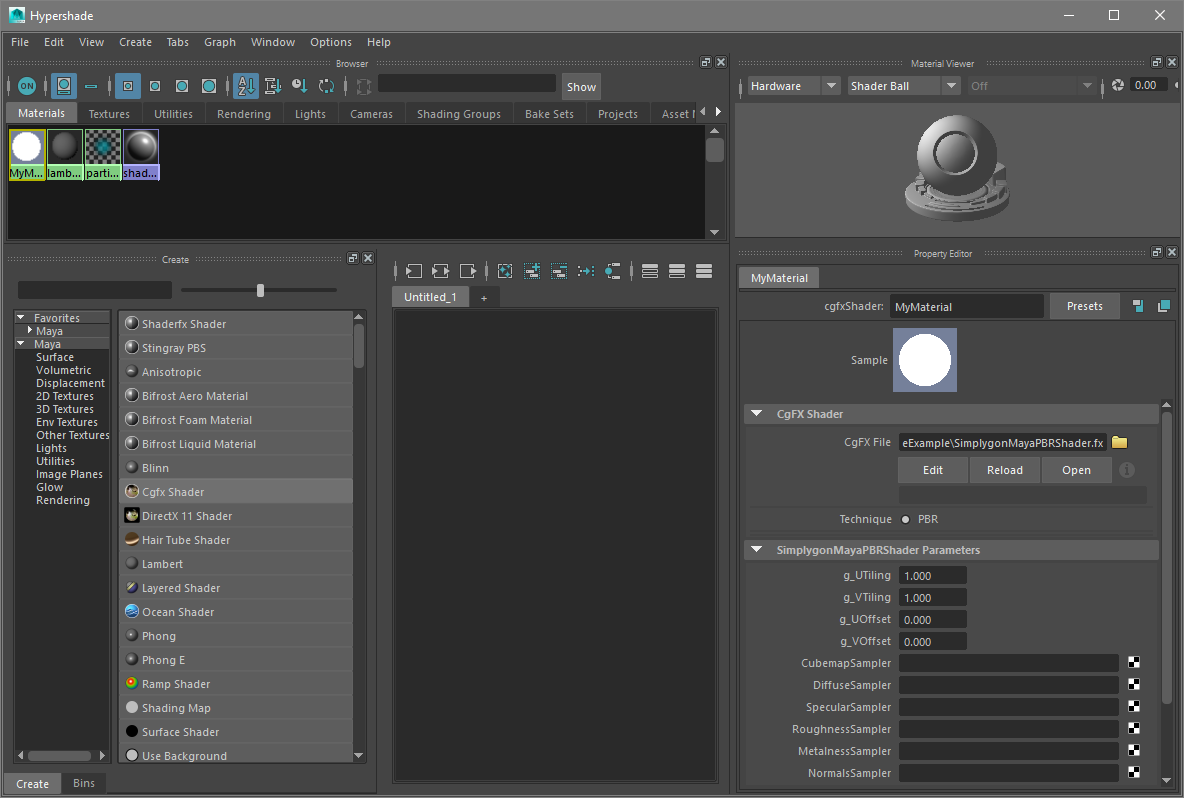
Figure 4: CGFX material with properties.
It is now time to assign the material to our asset: Select the asset, go to Hypershade, click and hold the right mouse button on the recently created shader followed by releasing the button when hovering assign to selection.
Another way to do this is to simply drag the material from Hypershade (using the middle mouse button) and drop it onto the asset.
If we close Hypershade and bring forth the attribute editor (ctrl + A), then the asset should render with the new material. We have already prepared some textures for this specific material to make it somewhat more describing (figure 5).
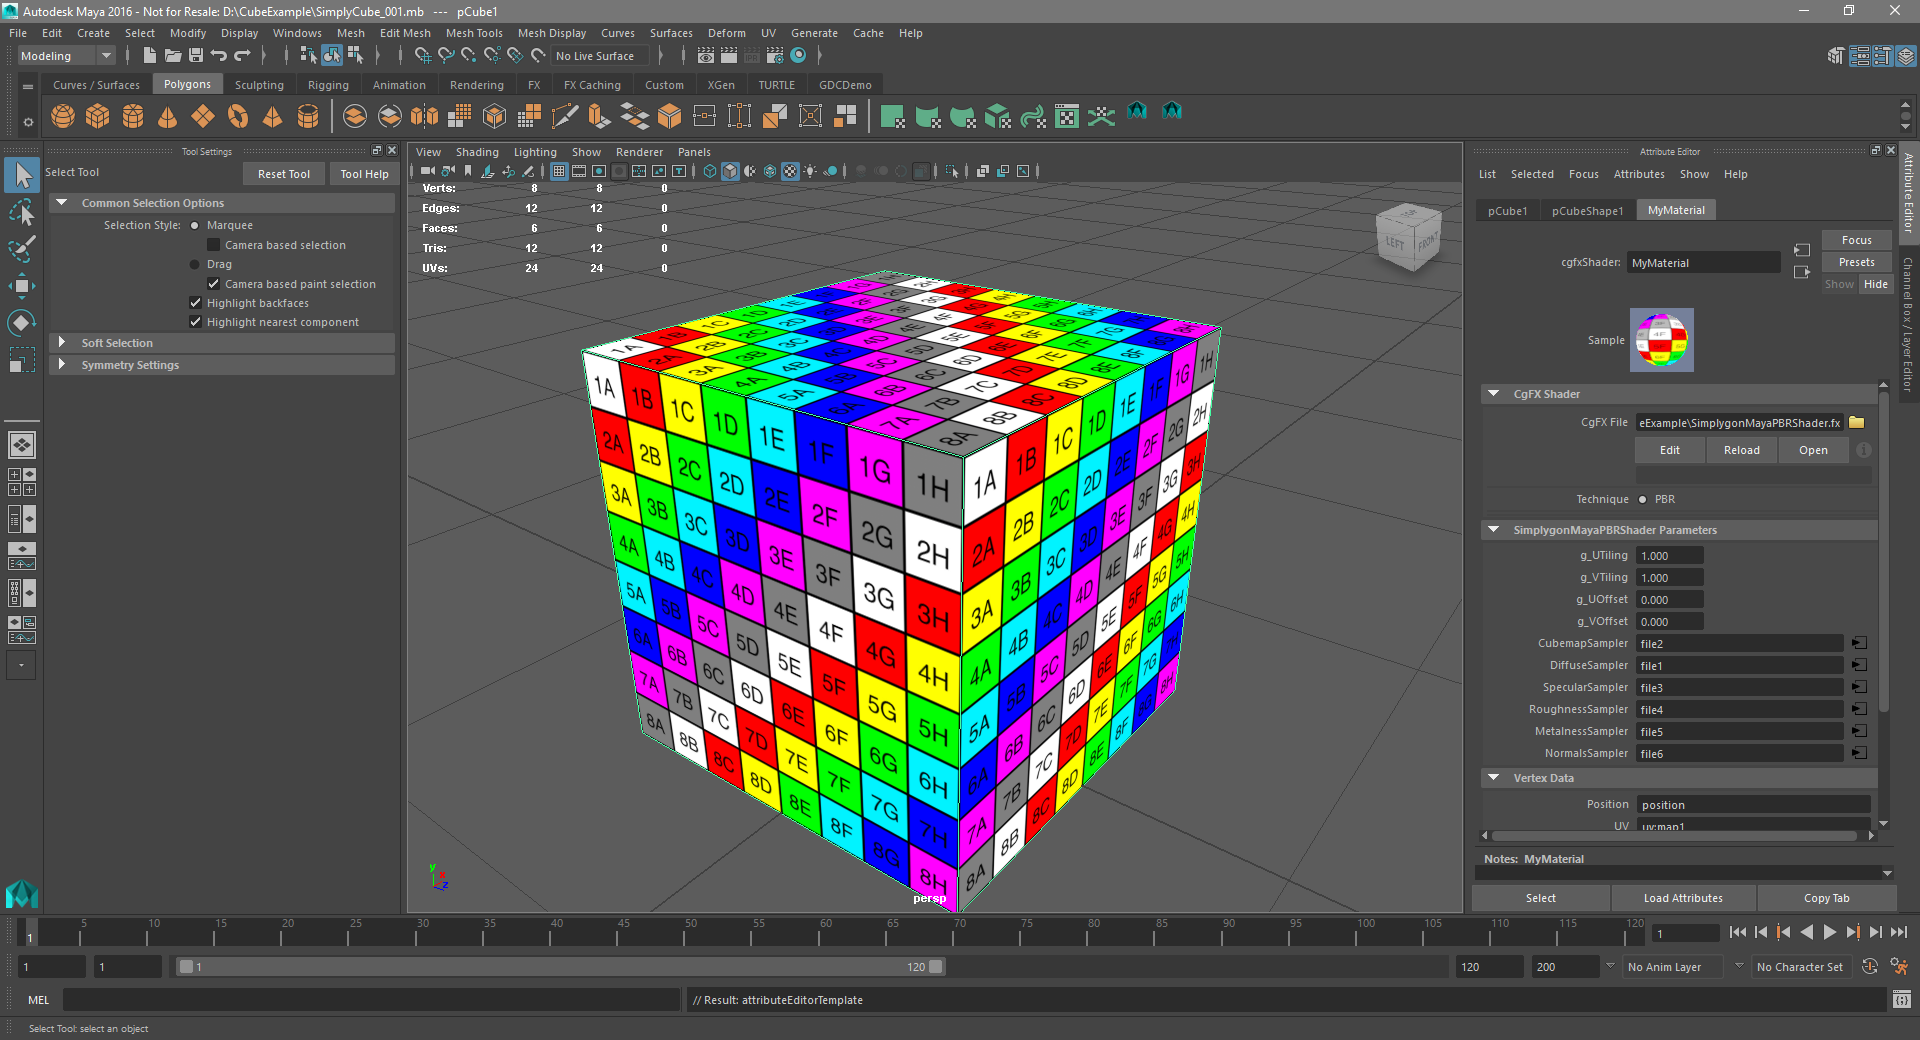
Figure 5: Cube with CGFX material successfully applied.
That is it, we now have an asset with a HLSL shader attached to it!
# Scripting
To translate a CGFX/DirectX material to a Simplygon material you might want to extract certain properties from your shader, for example a texture. Below is a snippet of a DirectX shader defining a texture.
texture DiffuseTexture : Diffuse
<
    string ResourceType = "2D";
    string UIName =  "Diffuse Texture";
>;
sampler2D DiffuseSampler = sampler_state
{
    Texture = <DiffuseTexture>;
    MinFilter = LinearMipMapLinear;
    MagFilter = Linear;
};
The sampler will show up in the CGFX material as in figure 6.
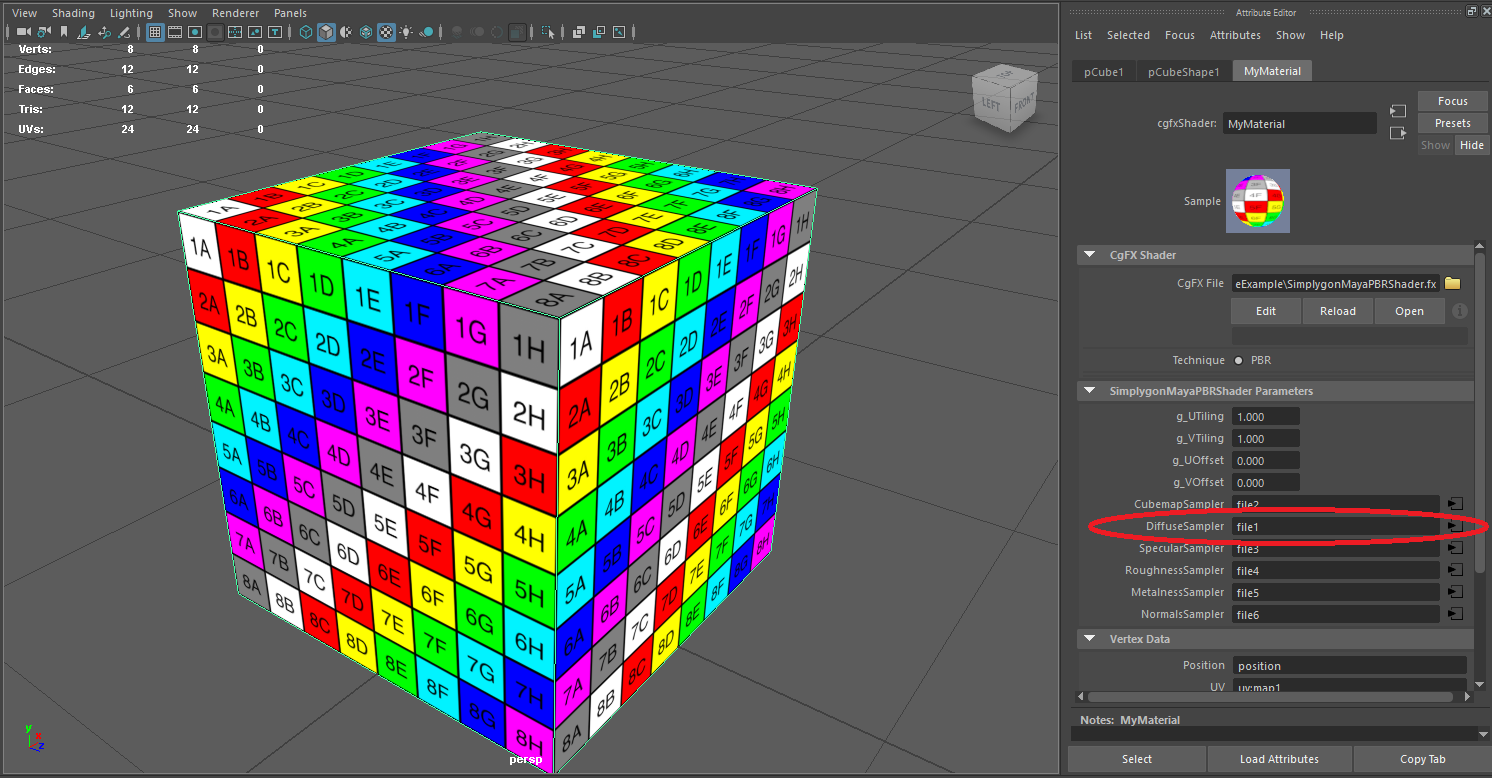
Figure 6: Diffuse texture slot.
# Export
The first thing we need to do is to create a (shading) texture node using the SimplygonShadingNetwork-command along with the cn-flag (CreateNode), the name of the material as well as the name of the texture sampler.
SimplygonShadingNetwork
    -cn $materialName TextureNode "DiffuseSampler";
To connect the shading network exit node to a material channel, in this case to a channel named Diffuse, we add another row to our script.
SimplygonShadingNetwork
    -cn $materialName TextureNode "DiffuseSampler"
    -sce $materialName Diffuse "DiffuseSampler";
Commands in Maya are not state based and does not share any information, so to be able to pass the shading network templates from SimplygonShadingNetwork to Simplygon we will store the information to disk (using the exf-flag). Let’s add another flag to the SimplygonShadingNetwork-command.
SimplygonShadingNetwork
    -cn $materialName TextureNode "DiffuseSampler"
    -sce $materialName Diffuse "DiffuseSampler"
    -exf $materialName Diffuse ($xmlExportPath + $materialName + "_Diffuse.xml");
Now, after running this script there should be a xml file in the specified output folder containing the shading network template for the specified material channel. We will now use the generated template as input when calling the "Simplygon"-command.
First we need the material input arguments for the "Simplygon"-command, which in this case is the path to the xml we exported earlier. We import it using import xml file (ixf).
string $arguments = " -ixf \"" + $materialName + "\" Diffuse \"" + ($xmlExportPath + $materialName + "_Diffuse.xml\"");
When calling the Simplygon-command we can specify some optional parameters which in this case are:
dgm to not generate standard Phong material when importing LOD) and tod to specify a texture output directory where the resulting textures shall end up after LOD import. Finally we add the required flag, add shader material (asm) followed by material name and the previous xml import path. Remember to select the asset before running the Simplygon-command - otherwise the command will be ignored.
string $processedMeshes[] = eval("Simplygon -sf $pipelineFilePath -dgm -tod $textureOutputDirectory -asm $materialName " + $arguments);
Let us add the NormalsSampler texture to the Normals channel, this should be fairly easy from what we have learned. Let us take a look at the definition in the HLSL shader.
texture NormalTexture : Normal
<
    string ResourceType = "2D";
    string UIName =  "Normal Texture";
>;
sampler2D NormalsSampler = sampler_state
{
    Texture = <NormalTexture>;
    MinFilter = LinearMipMapLinear;
    MagFilter = Linear;
};
We add similar rows for normals as for the diffuse texture.
SimplygonShadingNetwork
    -cn $materialName TextureNode "DiffuseSampler"
    -cn $materialName TextureNode "NormalsSampler"
    -sce $materialName Diffuse "DiffuseSampler"
    -sce $materialName Normals "NormalsSampler"
    -exf $materialName Diffuse ($xmlExportPath + $materialName + "_Diffuse.xml")
    -exf $materialName Normals ($xmlExportPath + $materialName + "_Normals.xml");
string $arguments =
" -ixf \"" + $materialName + "\" Diffuse \"" + ($xmlExportPath + $materialName + "_Diffuse.xml\"") +
" -ixf \"" + $materialName + "\" Normals \"" + ($xmlExportPath + $materialName + "_Normals.xml\"");
string $processedMeshes[] = eval("Simplygon -sf $pipelineFilePath -dgm -tod $textureOutputDirectory -asm $materialName " + $arguments);
This is a short example of how to use shading networks to translate a custom HLSL shader. Please take a look at the tables above including shading nodes, commands and flags to see what is available. There are also a couple of examples at the end of this document which focusing more on shading nodes and hierarchy.
This is the end of the export part and how to get the asset to Simplygon. What happens next is more dependent on the settings that is used for processing and what kind of LODs that come back.
# Import
If we continue where we left off at the export step the return value of the Simplygon-command will contain the names of the processed meshes.
string $processedMeshes[] = eval("Simplygon -sf $pipelineFilePath -dgm -tod $textureOutputDirectory -asm $materialName " + $arguments);
The Simplygon Maya plug-in stores some material information from the last run to give the user a chance to manually setup materials via script. To access such information we will use the SimplygonQuery-command with the appropriate flags. We will start by asking the plug-in for the material name of a mesh, material channels as well as textures.
for( $m in $processedMeshes )
{
    $m = substituteAllString($m, "|", "");
    print ("\nMesh: " + $m + "\n");
    string $material;
    $material = `SimplygonQuery -gmm $m`;
    print ("  Material: " + $material + "\n");
    $channels = `SimplygonQuery -gcm $material`;
    for( $c in $channels )
    {
    print ("    Channel: " + $c + "\n");
    $filepath = `SimplygonQuery -gtc $material $c`;
    print ("      Texture: " + $filepath + "\n");
    }
}
What remains is to create a target CGFX / DirectX material (or any other material) and map back the information that was fetched from the SimplygonQuery-command. We've excluded the material creation part from this tutorial as there usually are many lines of code and special conditions that does not really contribute that much, see CGFX and DirectX examples for complete import / export scripts.
